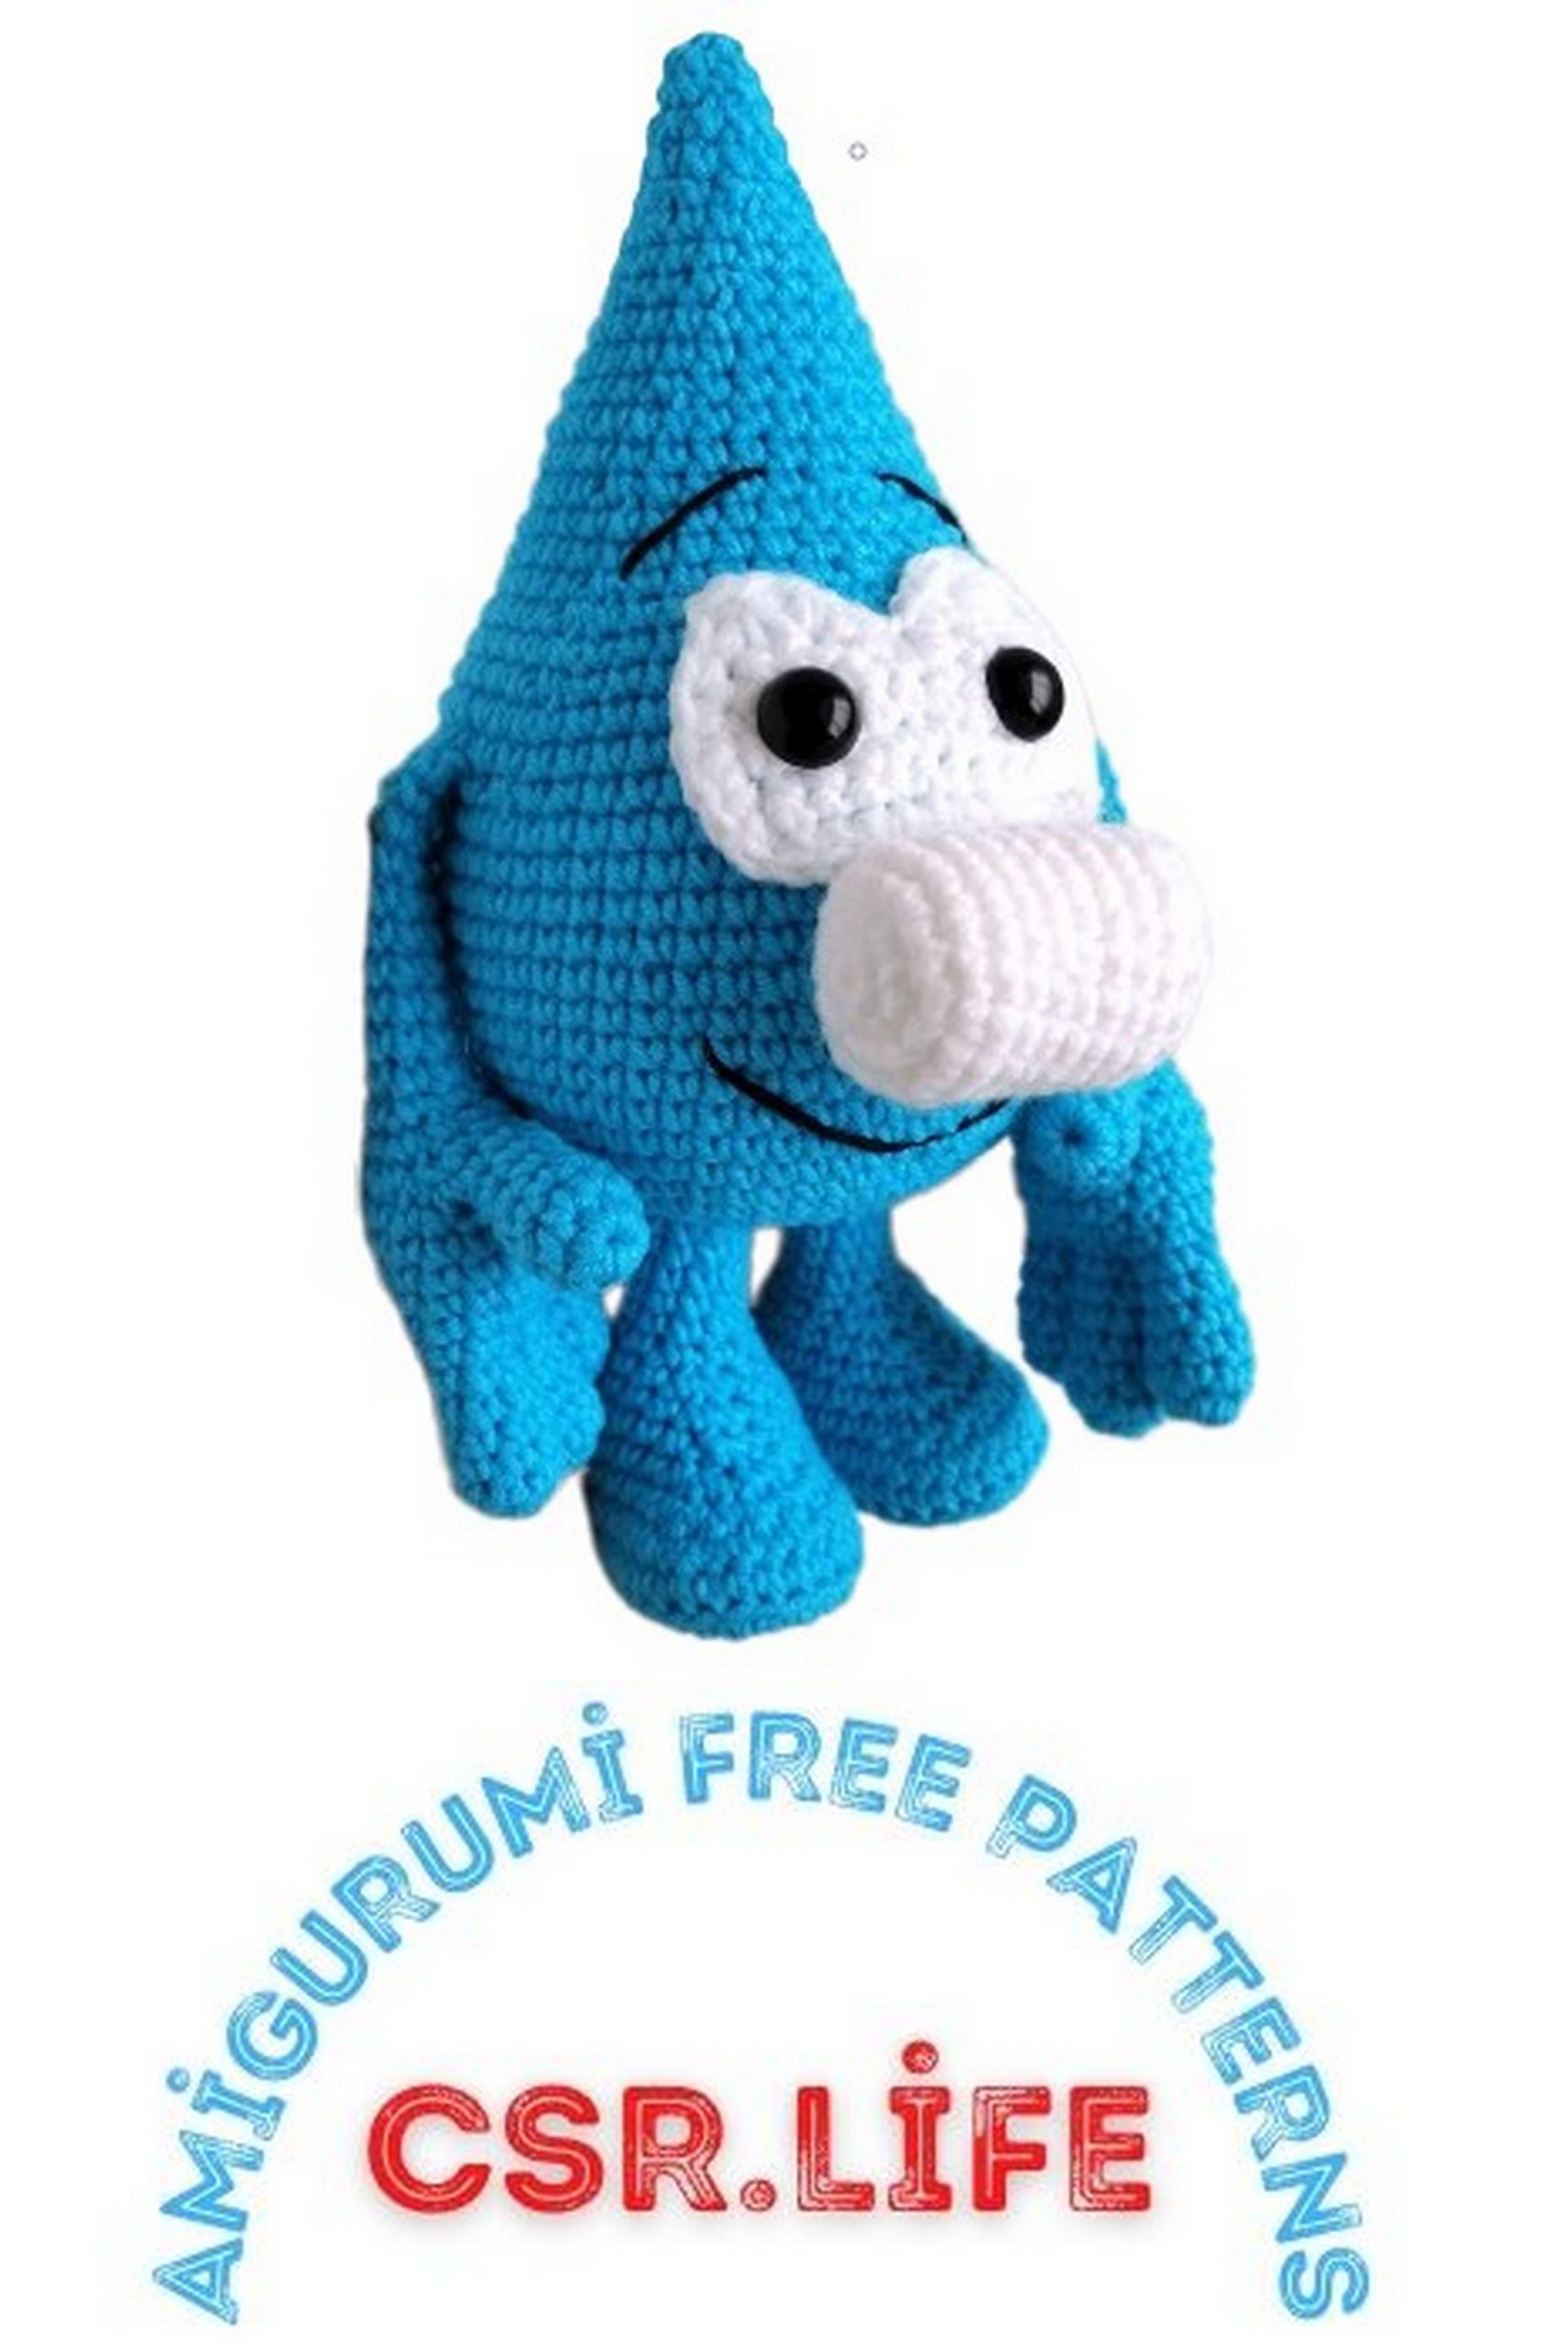
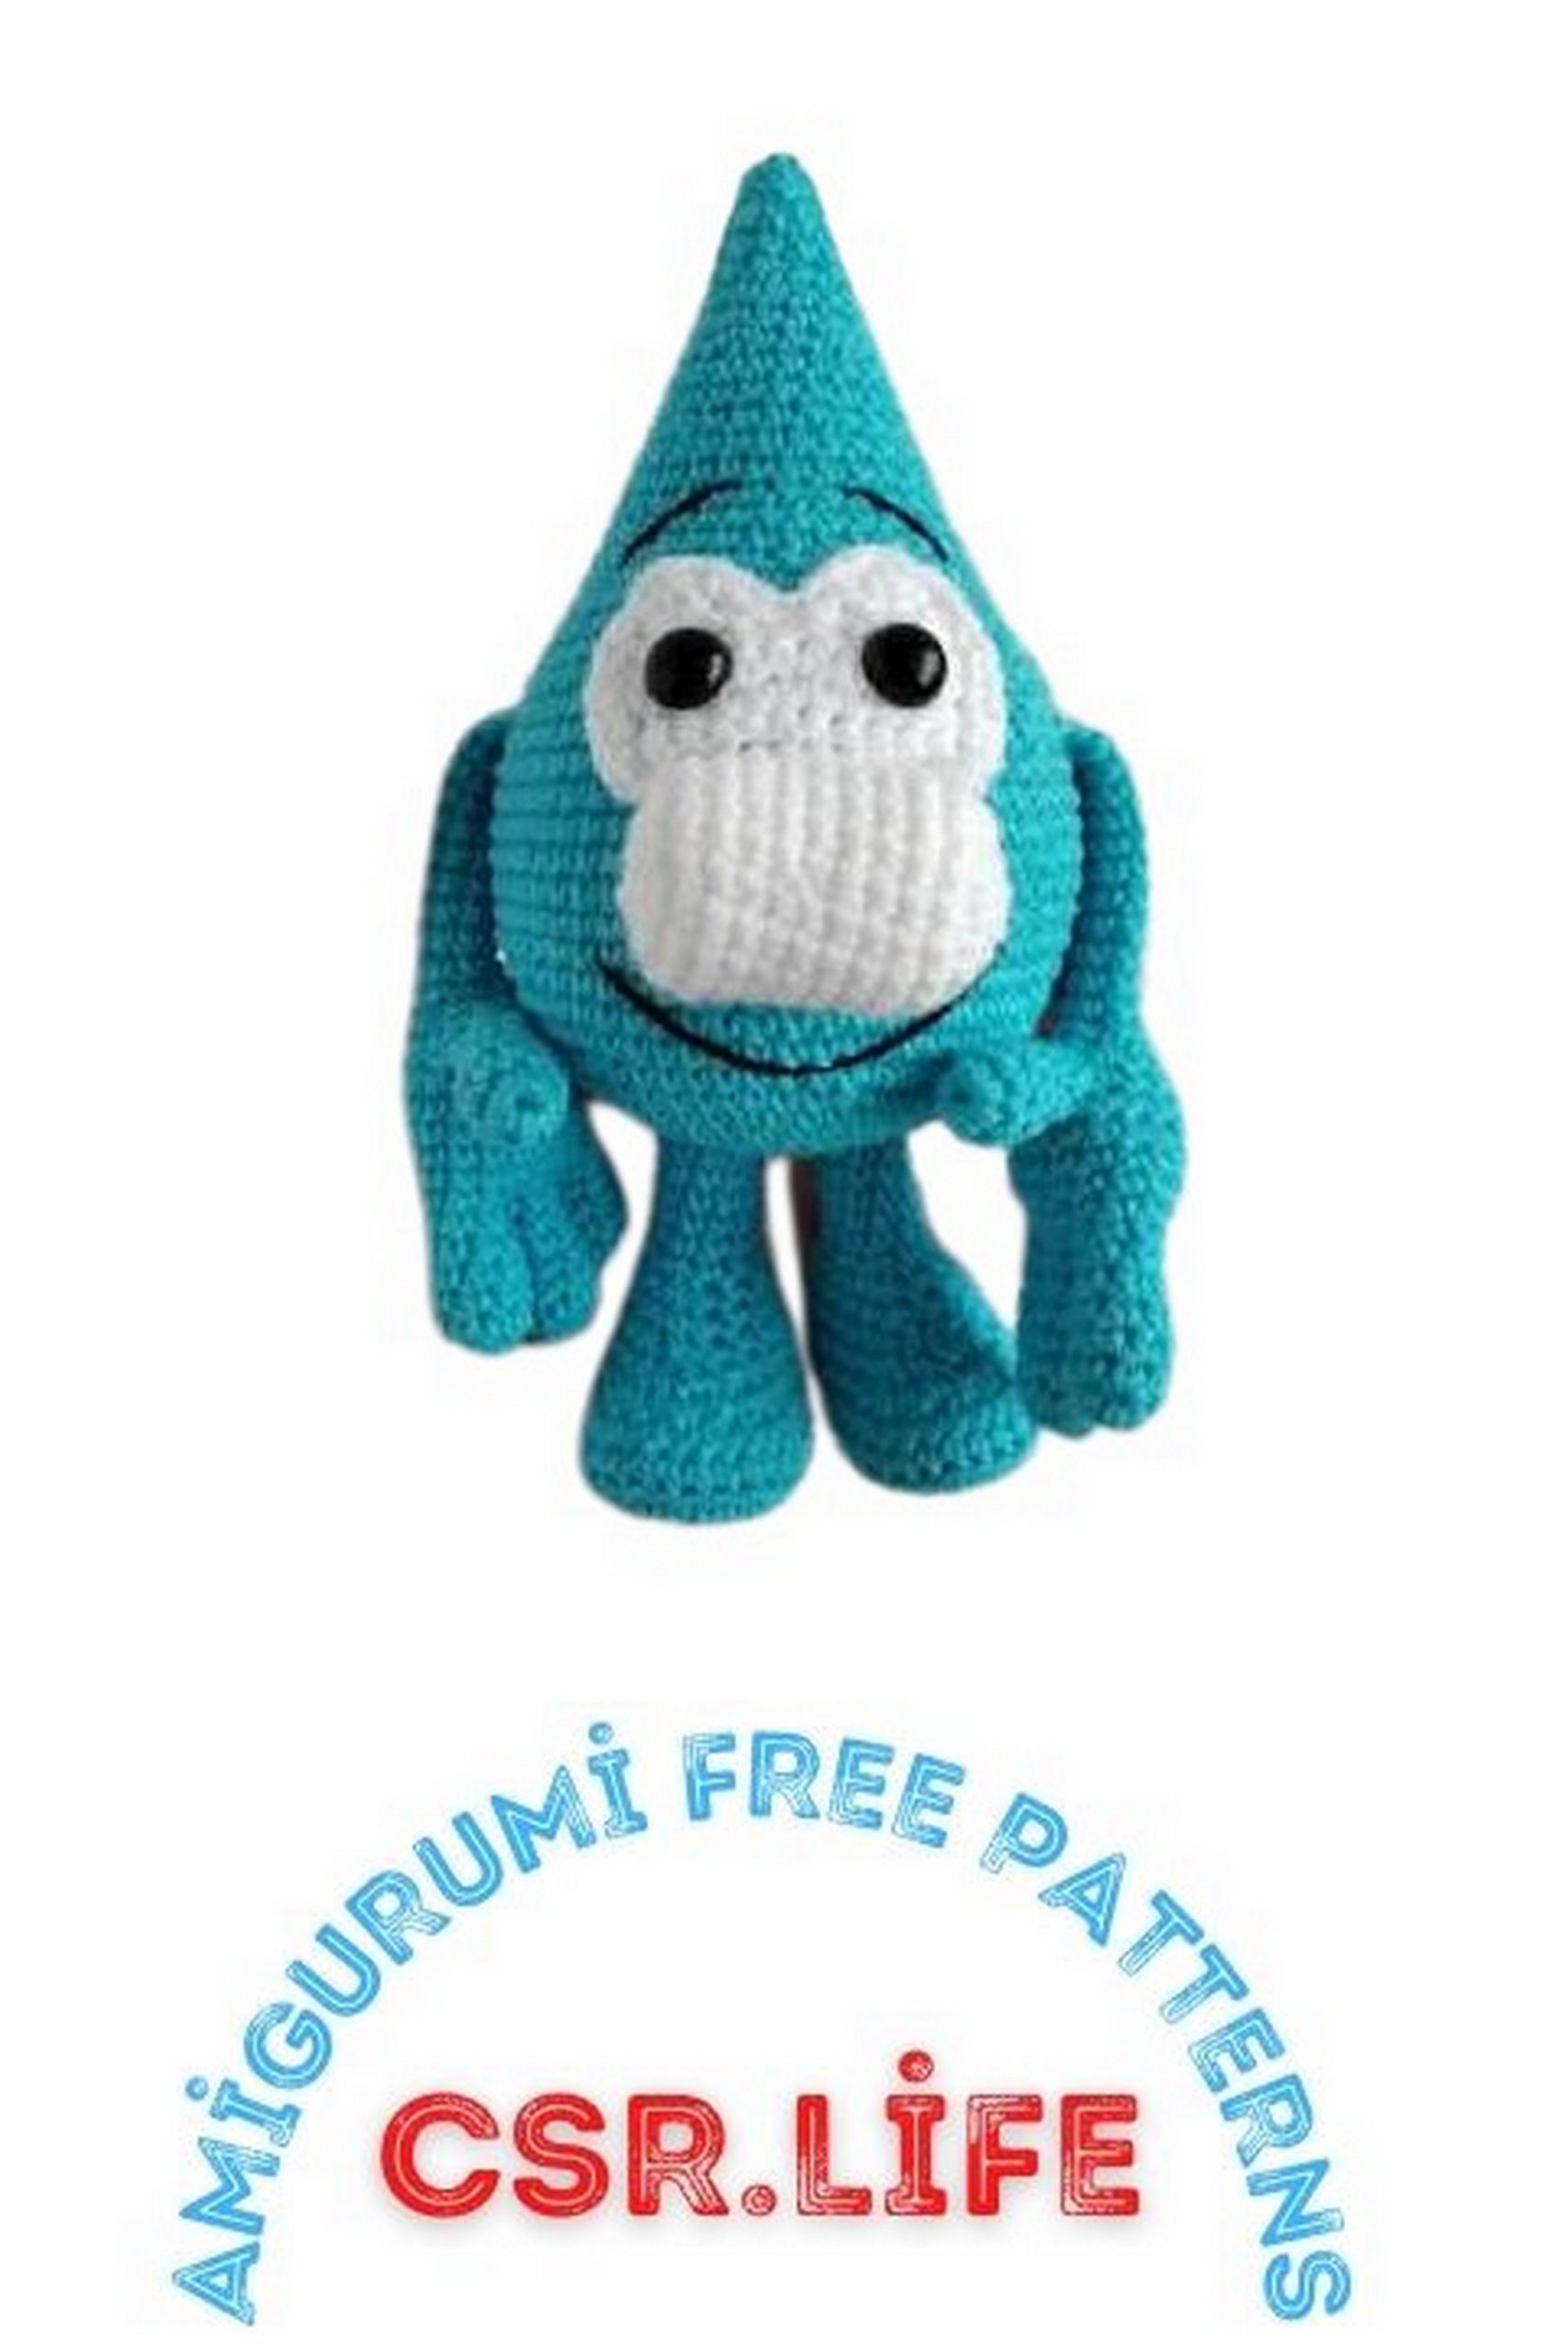
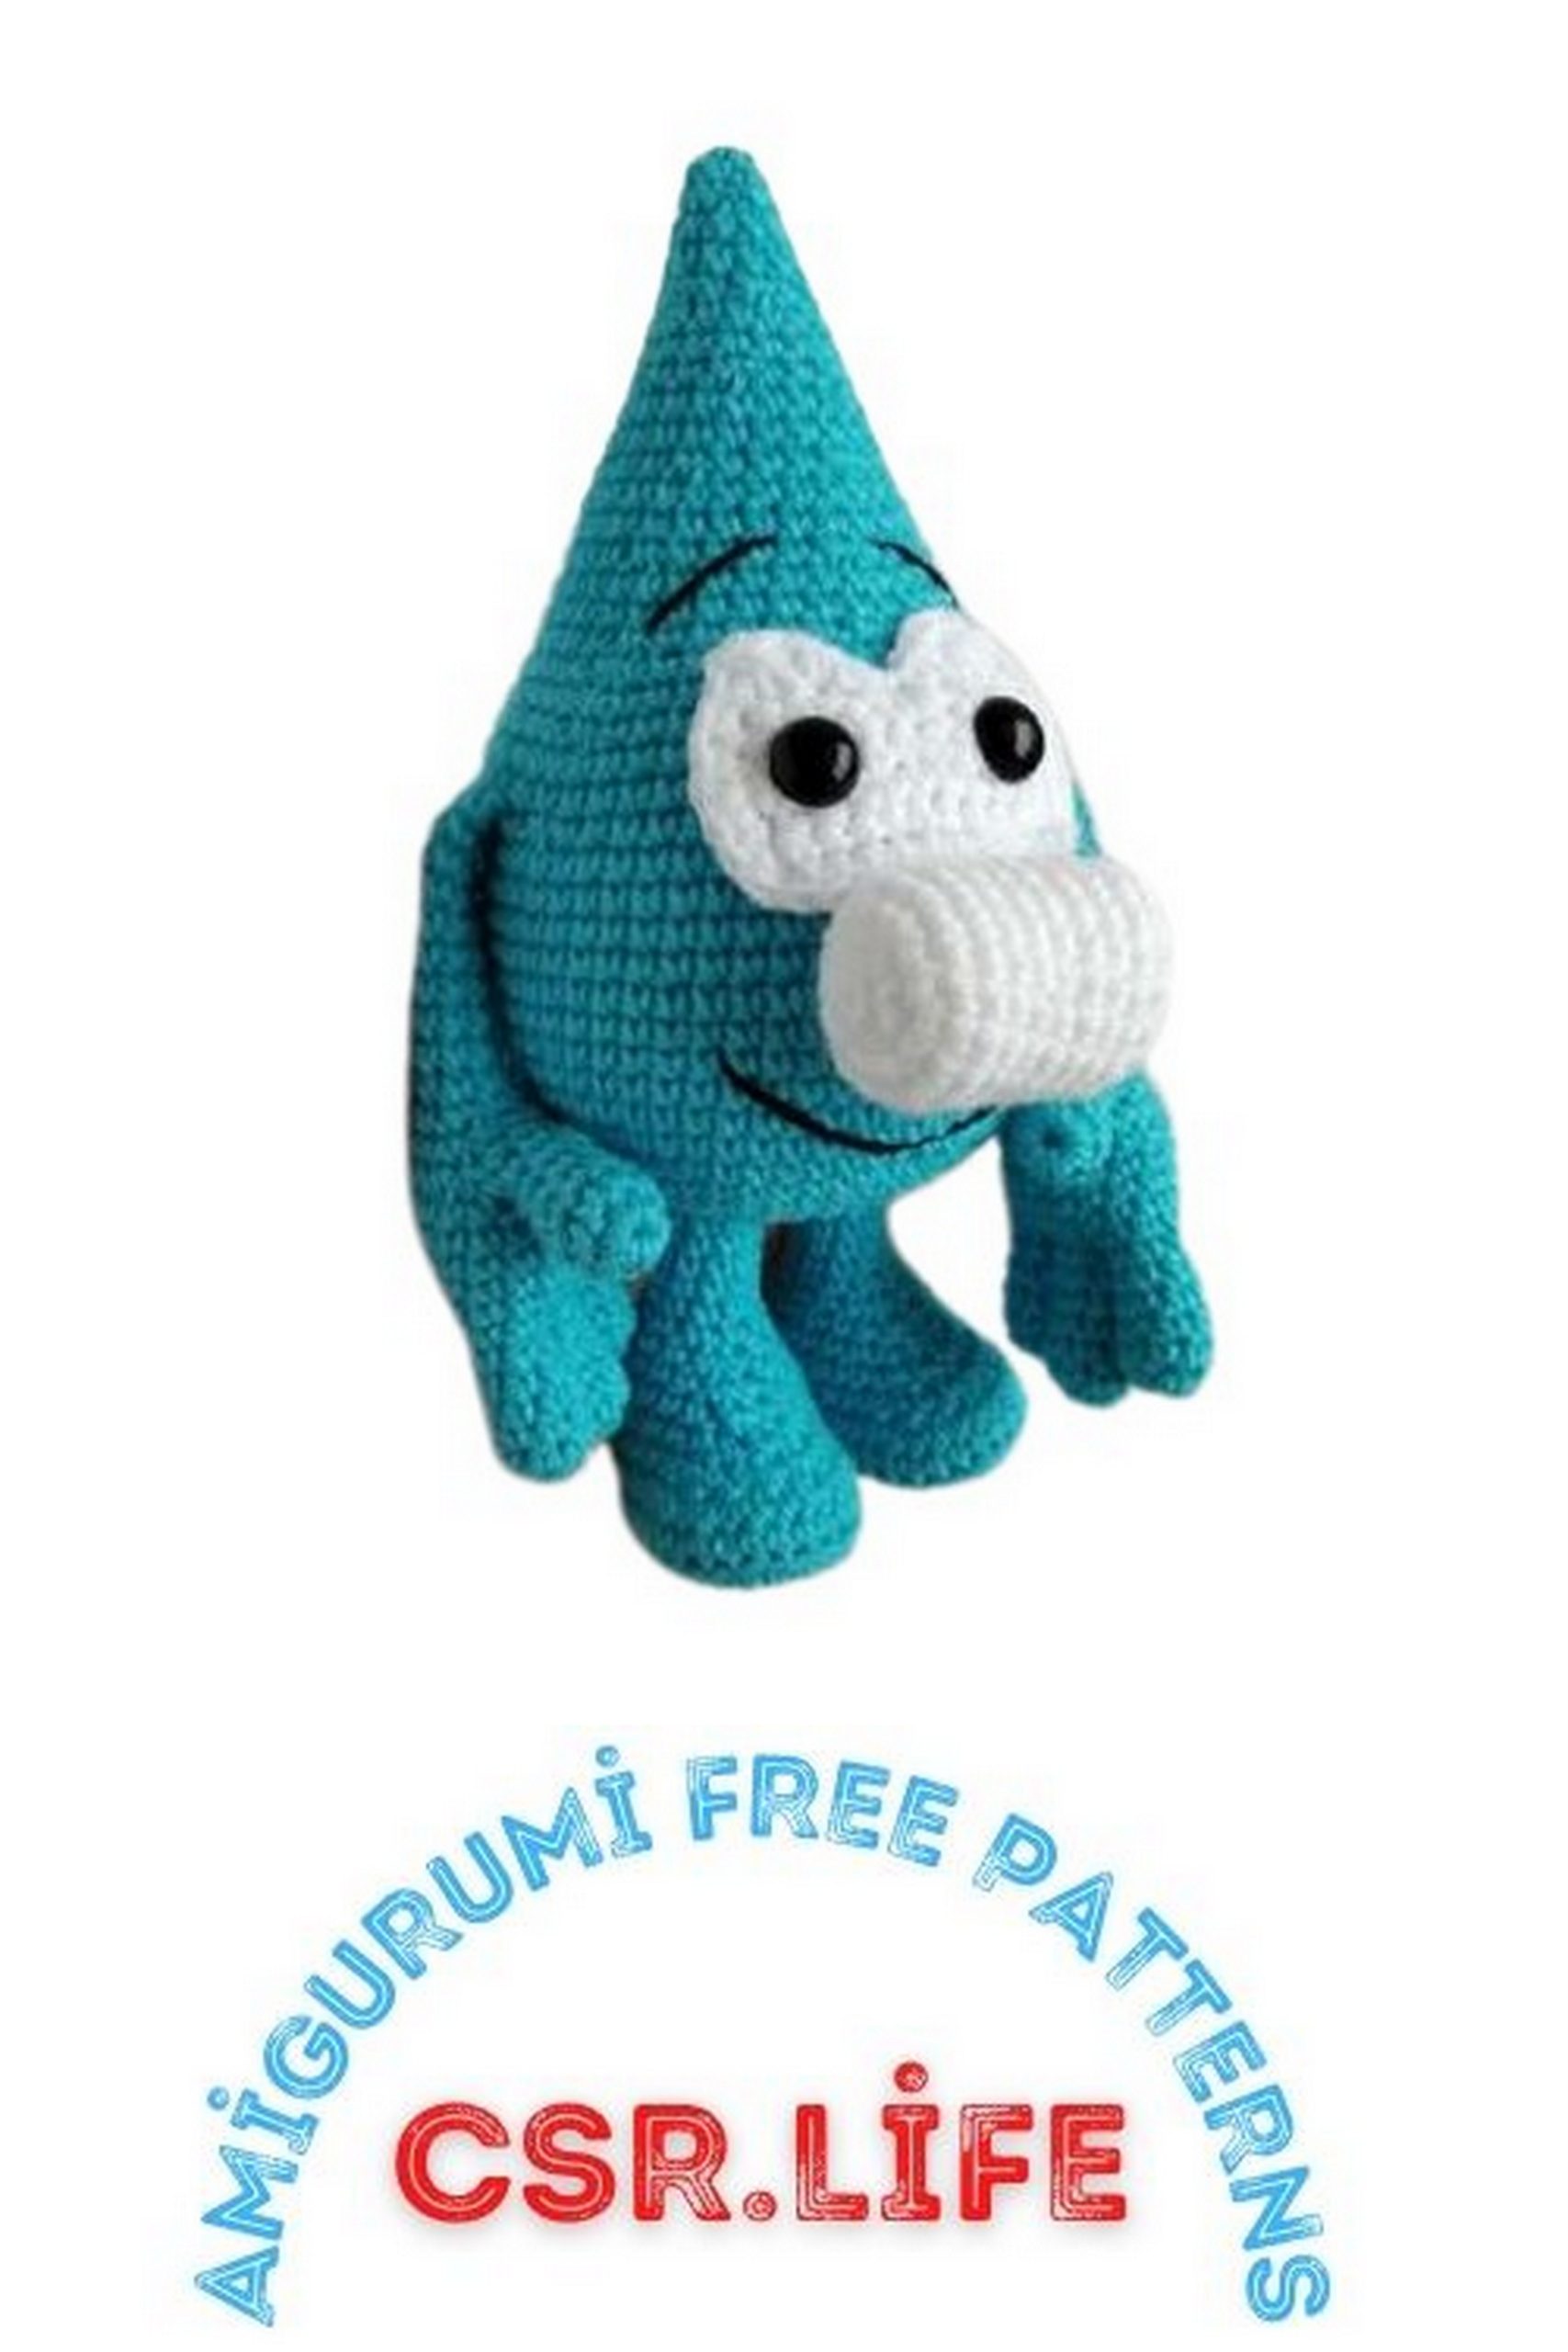
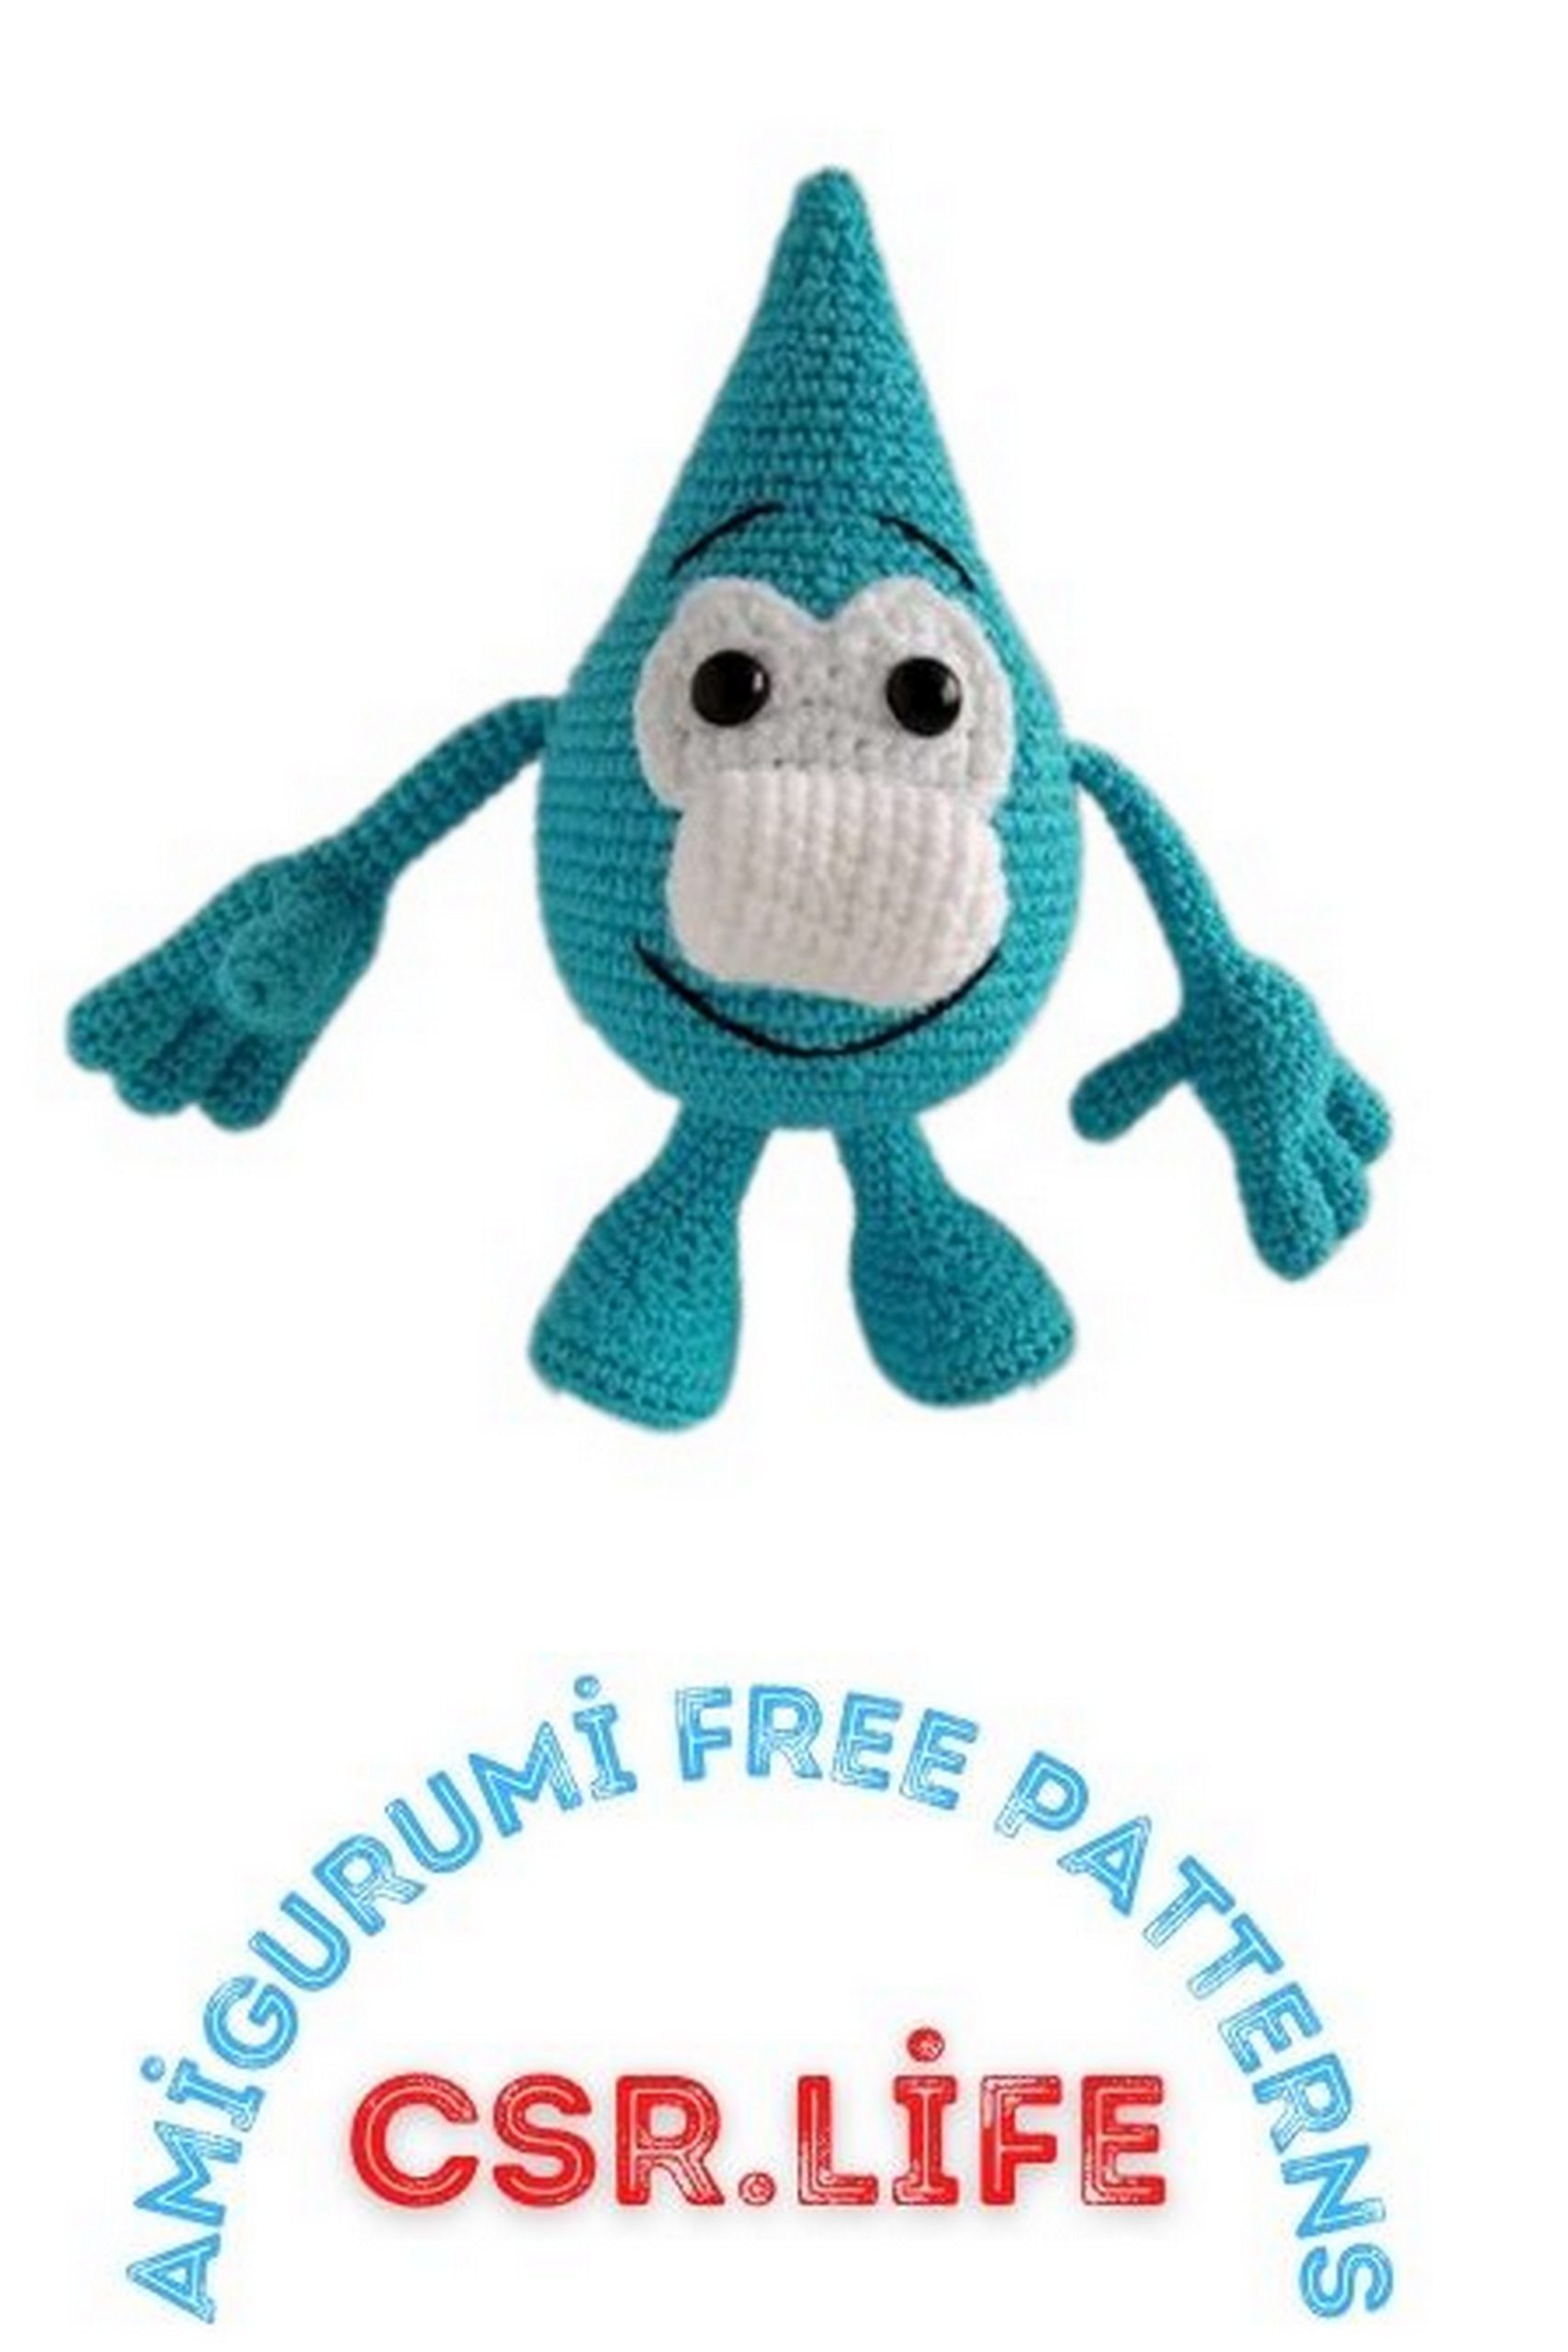
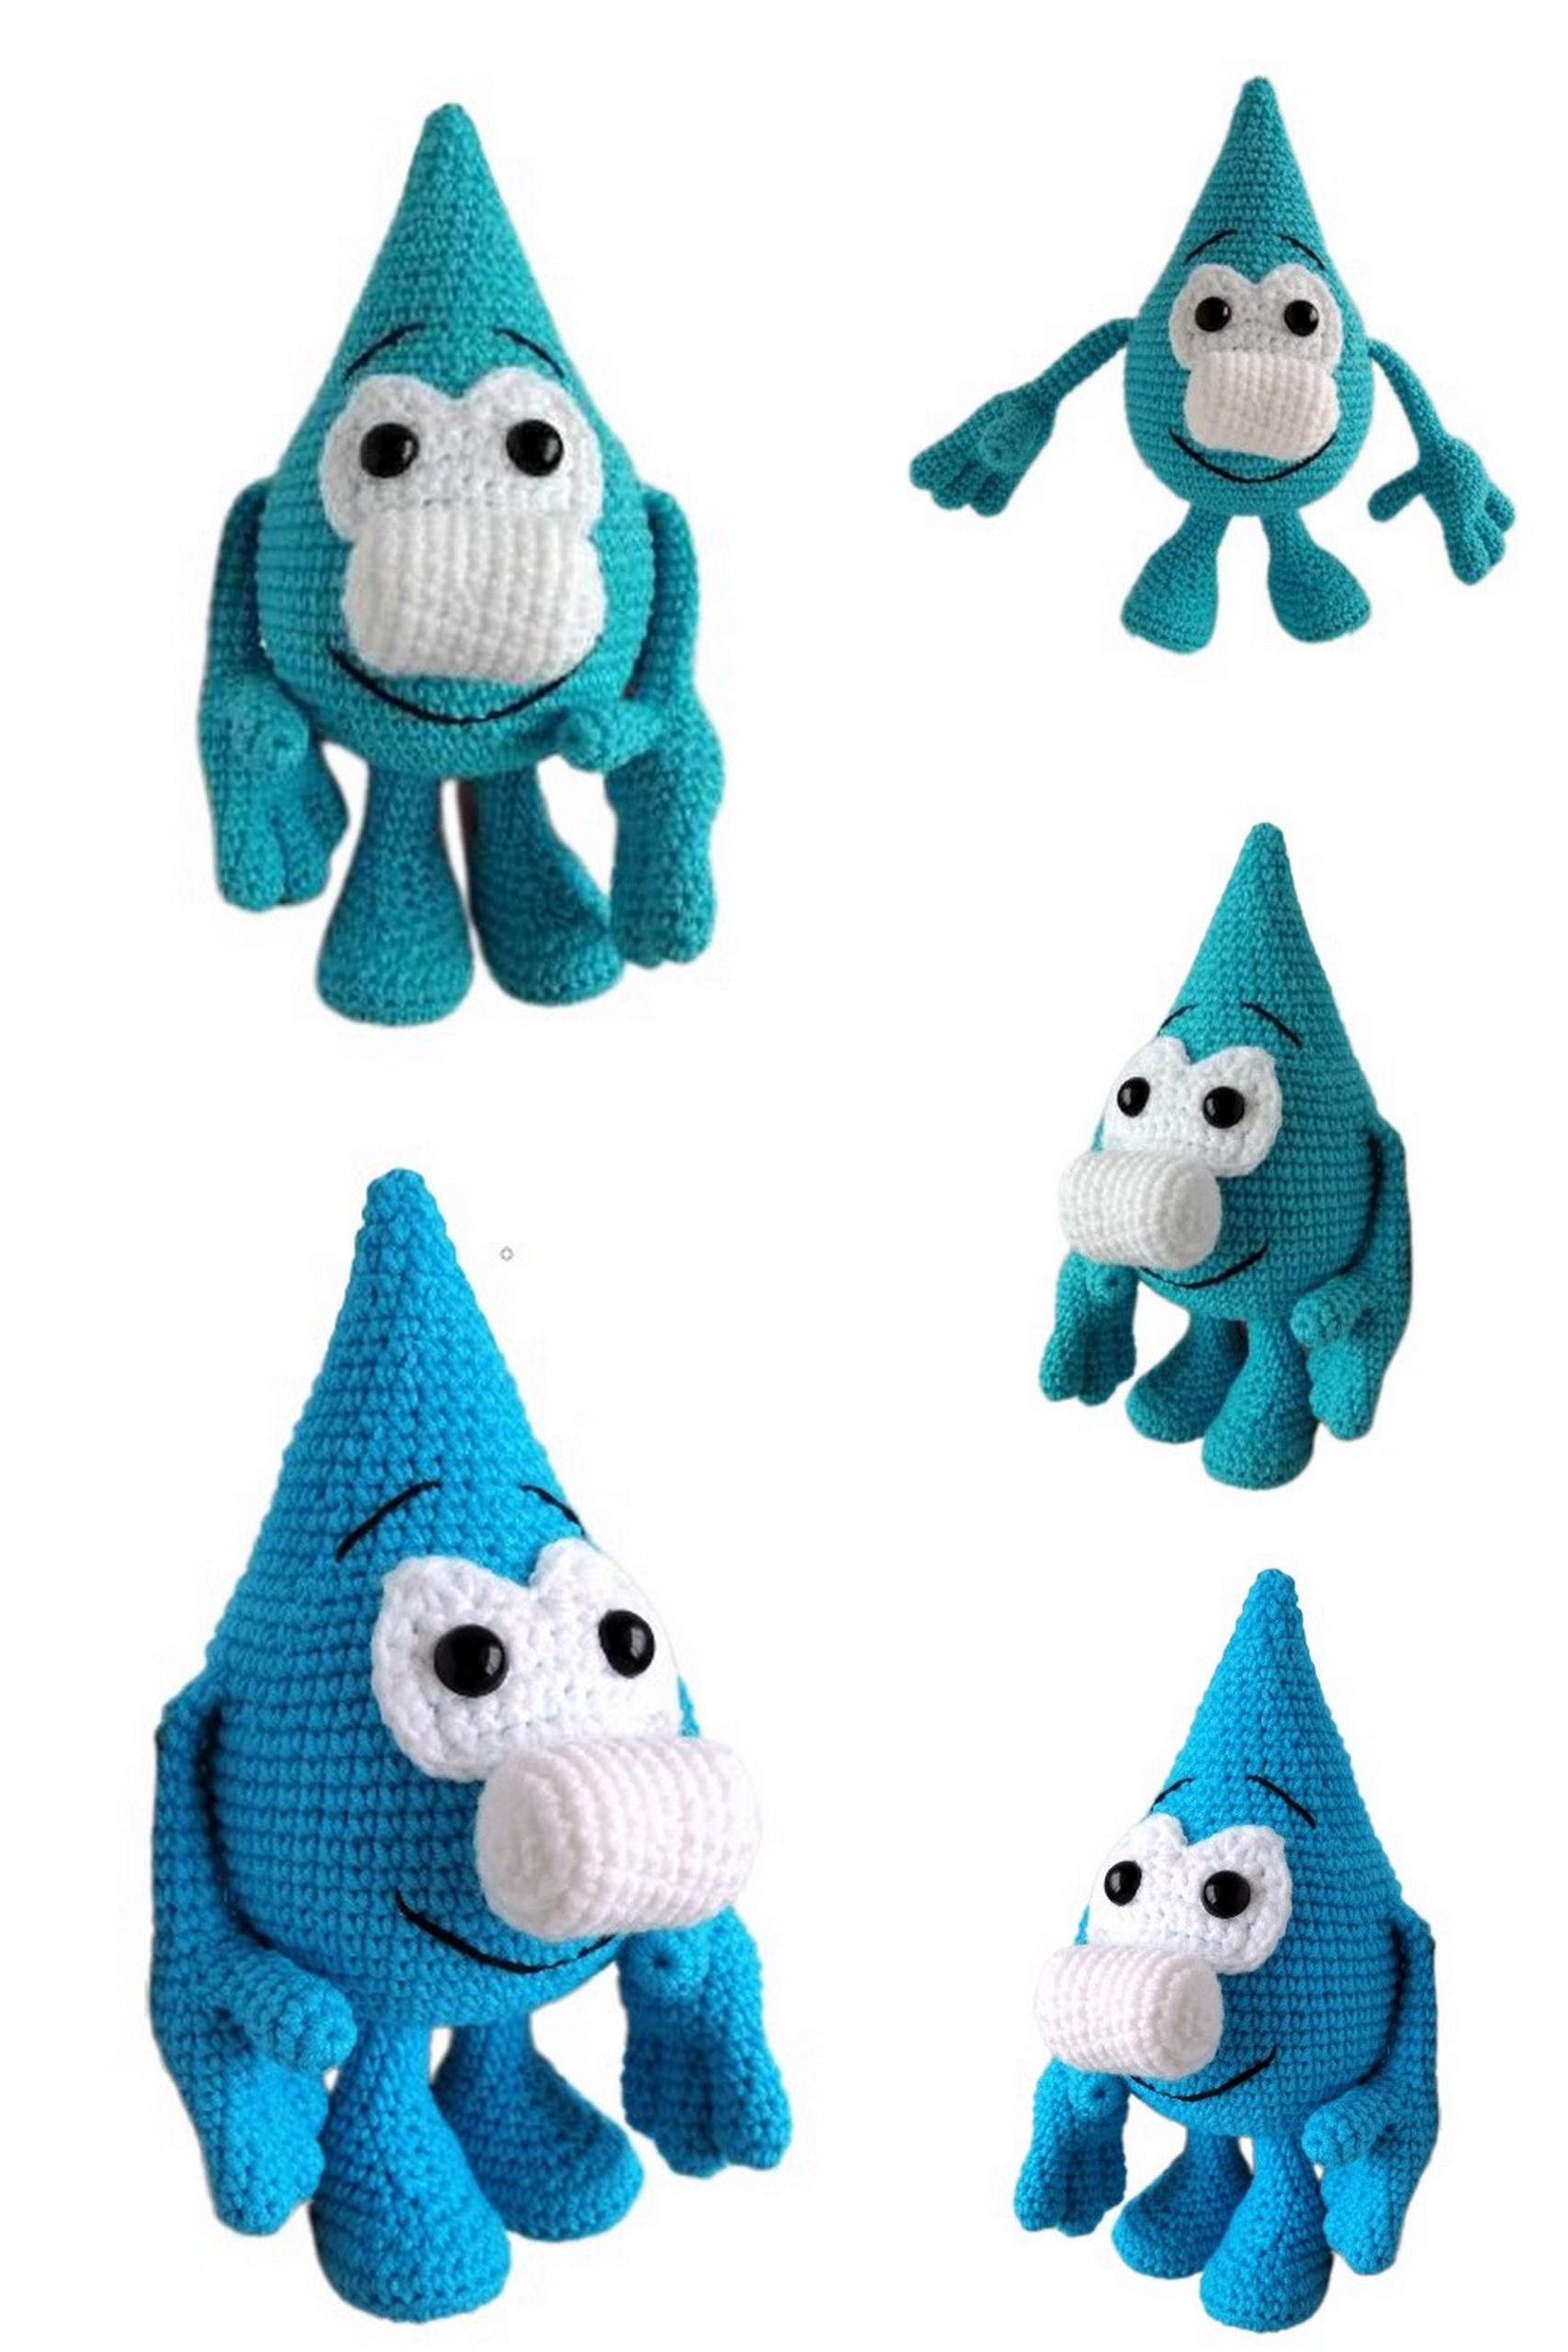
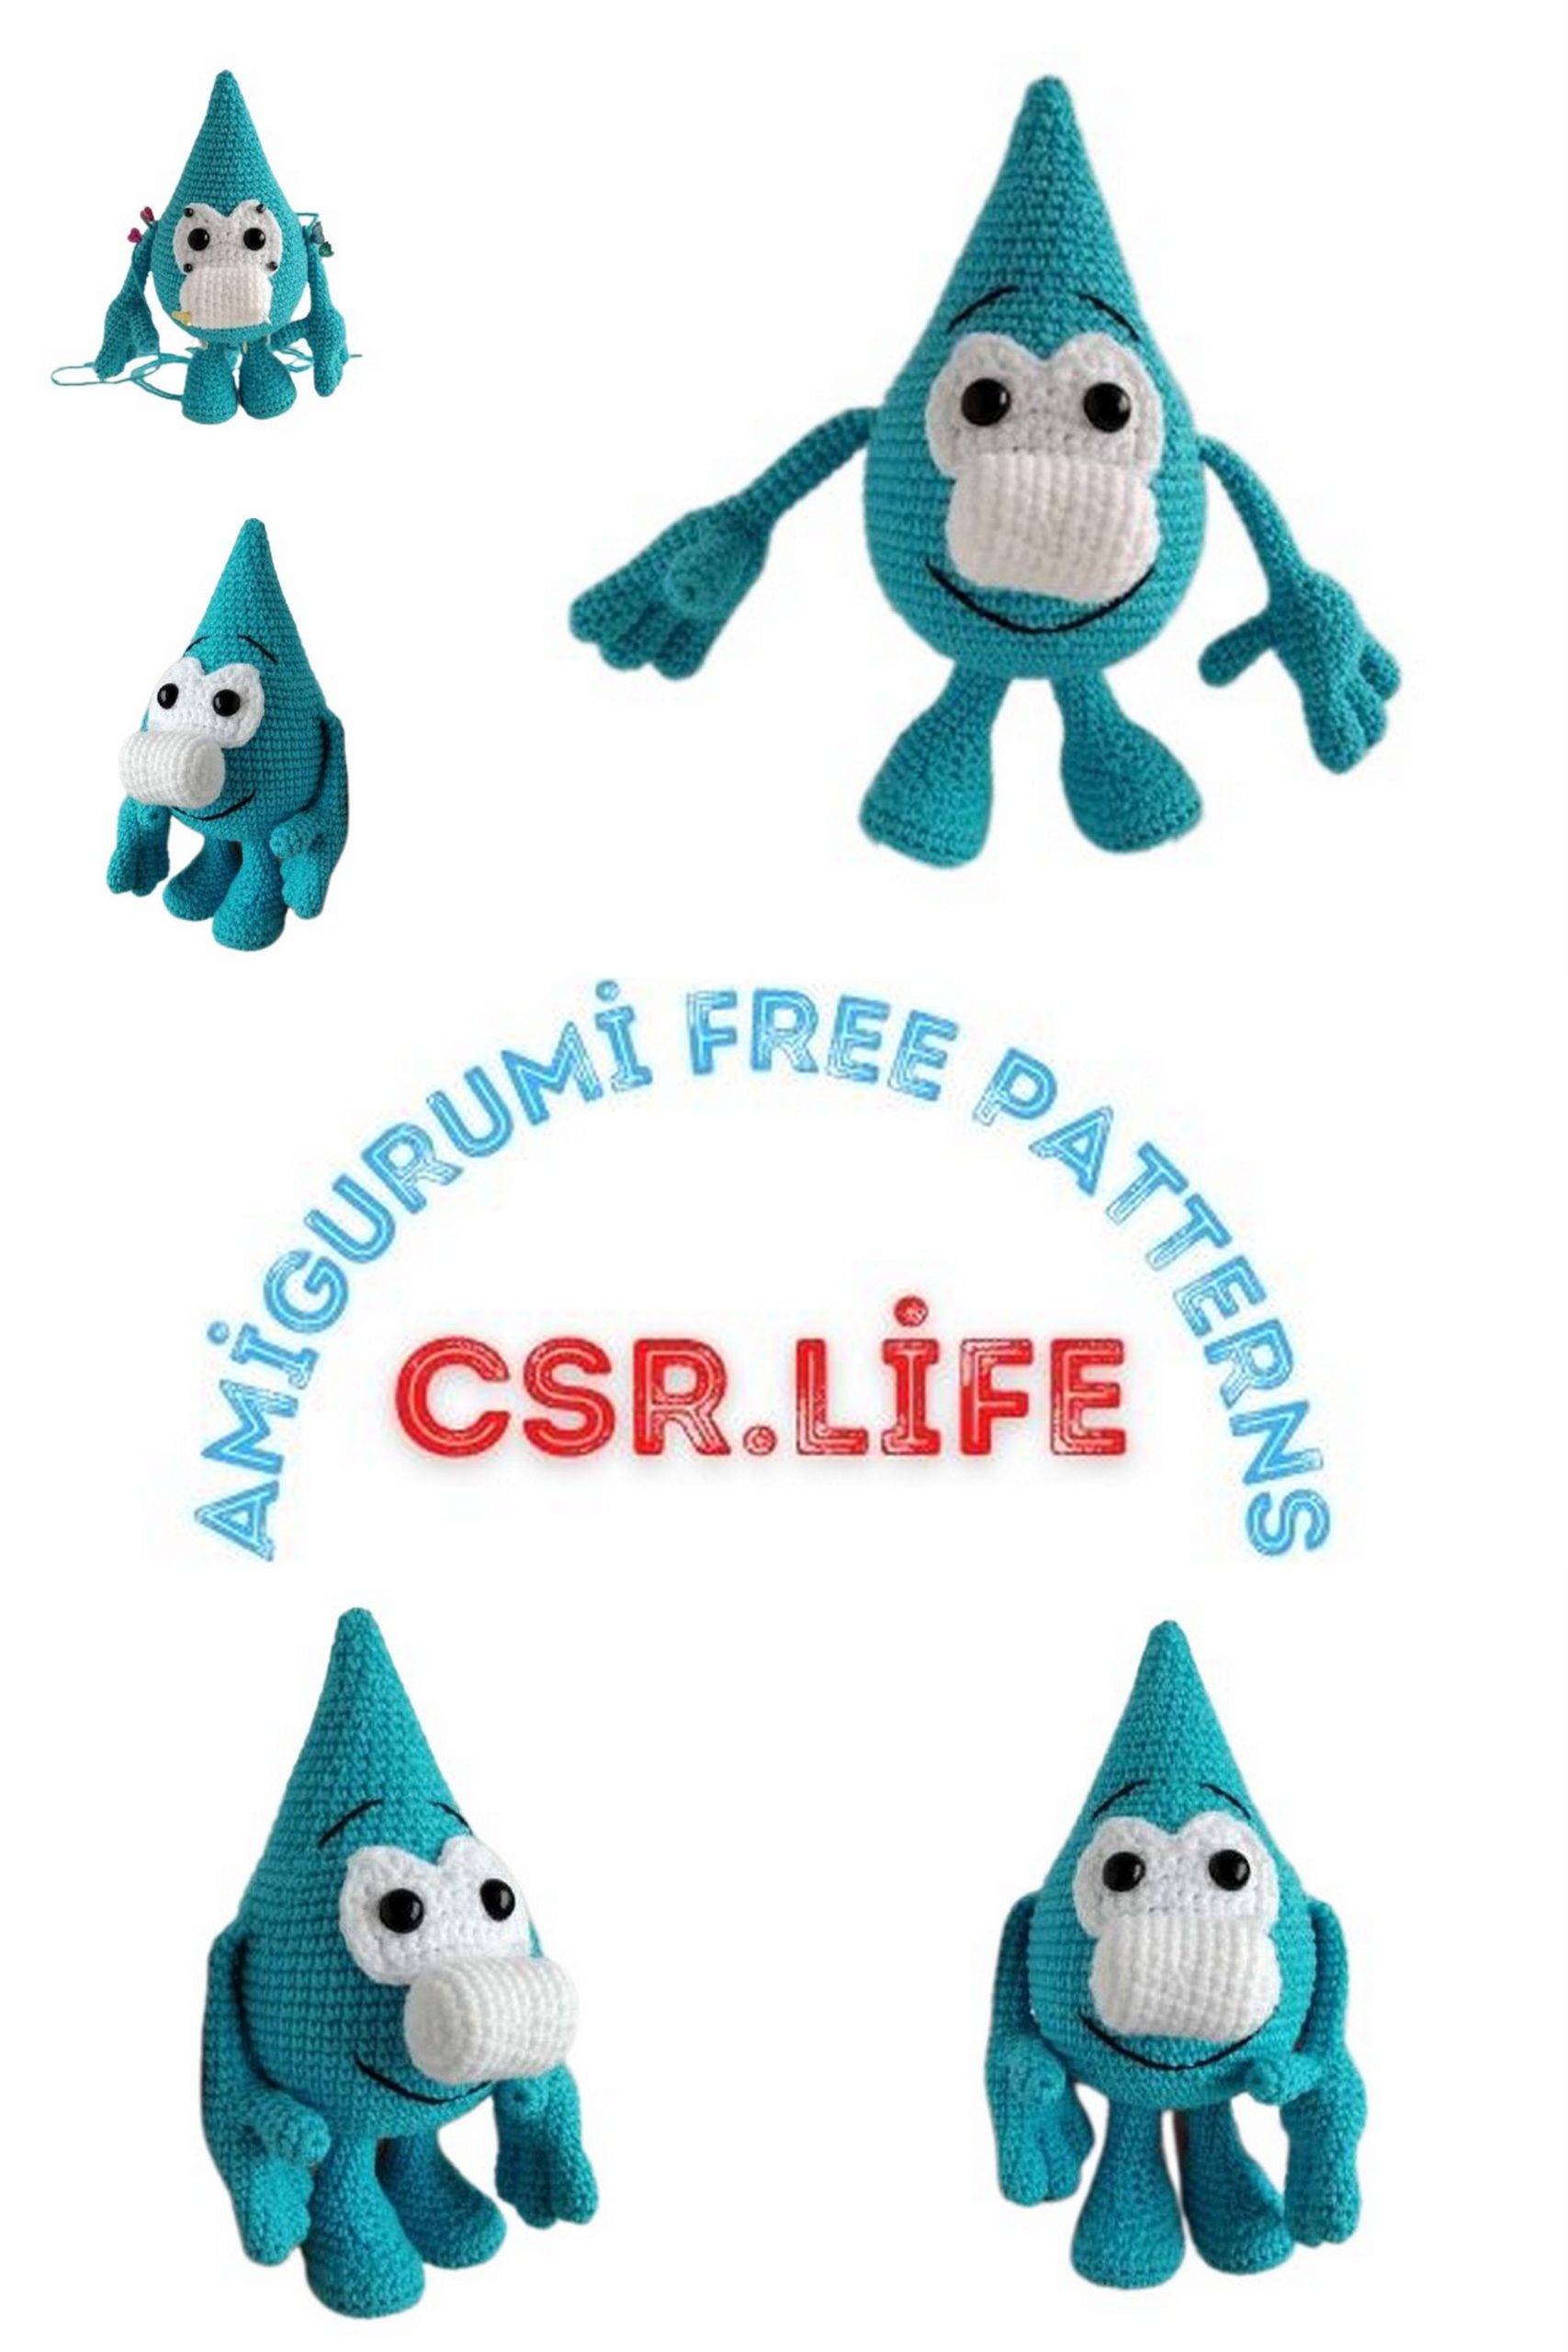
Raindrop Amigurumi Free Pattern – Create Your Own Cute Crochet Raindrop Toy
Welcome to our Raindrop Amigurumi Free Pattern! If you’re a crochet enthusiast with a penchant for cute and whimsical creations, you’re in for a treat. In this guide, we’ll provide you with a detailed tutorial on how to crochet your very own raindrop amigurumi toy. Whether you’re a seasoned crafter or a beginner looking for a fun and rewarding project, this pattern is perfect for you.
Raindrops are often seen as symbols of renewal and tranquility. They can evoke feelings of nostalgia, happiness, and calmness. With our free pattern, you can capture the essence of raindrops in the form of an adorable amigurumi. These little raindrop plushies make charming decorations, delightful gifts, or sweet companions for children and adults alike.
So, grab your crochet hooks, yarn, and a cup of your favorite beverage, and let’s get started on this delightful raindrop amigurumi adventure. By the end of this tutorial, you’ll have your very own raindrop amigurumi to brighten up your space or share with a loved one. Let’s dive into the world of crochet and create something magical together
Materials Needed:
1- Main yarn – 1 skein of Denim. Additional white yarn for eyes and nose – Baby Novelty.
2- Safety eyes 10 mm (without a shank, I trim them).
3 – Plastic for foot soles – optional (I use jar lids).
4 – 2 mm crochet hook for Denim and 1.75 mm for Baby Novelty.
5 – A small amount of embroidery floss or other suitable thread for shaping eyebrows and a smile.
6 – Glue for attaching the eyes.
Abbreviations:
MC – magic circle (amigurumi ring)
Ch – chain
SC – single crochet
INC – increase (2 SC in the same stitch)
DEC – decrease (single crochet 2 stitches together)
REP – repeat
All parts are crocheted in a spiral. Crochet all stitches through both loops of the stitches from the previous row.
Tip: Use the invisible decrease method (through the front loops).
PATTERN

Body:
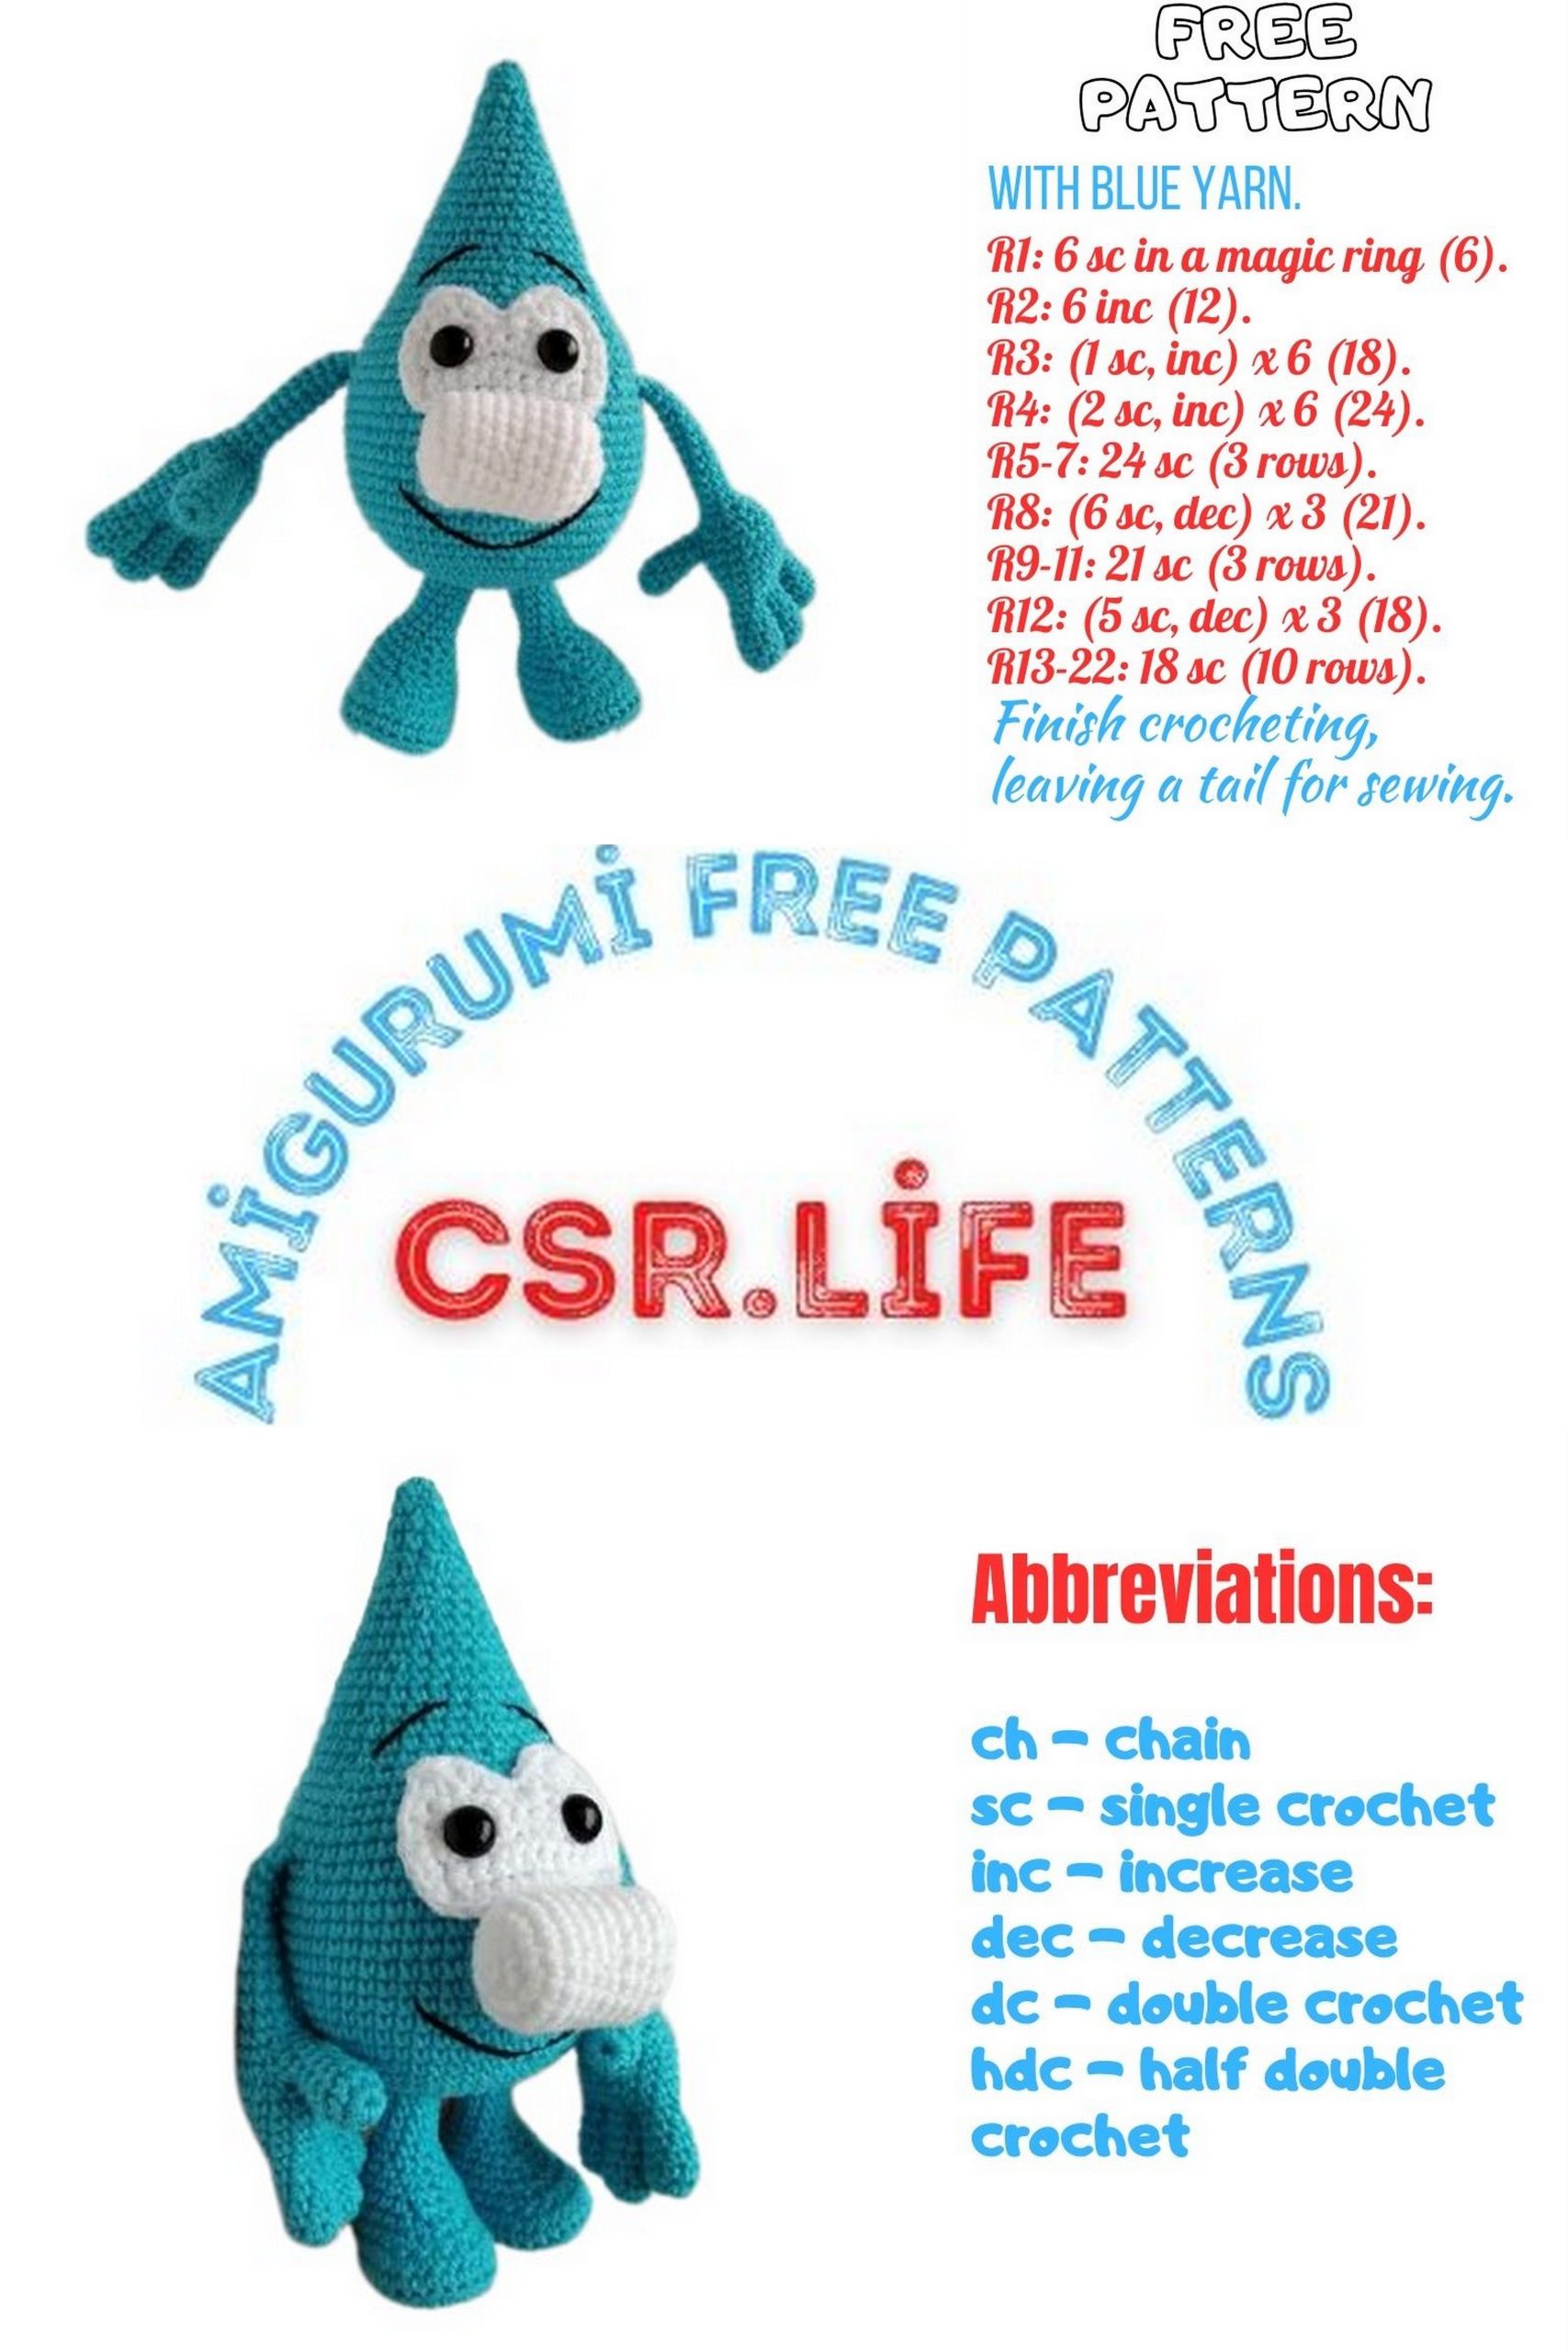
1 Row: Start with a magic circle, crochet 6 SC inside the circle.
2 Row: INC in each stitch around – 12 SC.
3 Row: (1 SC, INC) REP around – 18 SC.
4 Row: (2 SC, INC) REP around – 24 SC.
5 Row: (3 SC, INC) REP around – 30 SC.
6 Row: (4 SC, INC) REP around – 36 SC.
7 Row: (5 SC, INC) REP around – 42 SC.
8 Row: (6 SC, INC) REP around – 48 SC.
9 Row: (7 SC, INC) REP around – 54 SC.
10 Row: (8 SC, INC) REP around – 60 SC.
11-20 Rows: 60 SC (10 rows without any increases or decreases).
21 Row: (8 SC, DEC) REP around – 54 SC.
22-23 Rows: 54 SC (2 rows without any increases or decreases).
24 Row: (7 SC, DEC) REP around – 48 SC.
25 Row: 48 SC (without any increases or decreases).
26 Row: (6 SC, DEC) REP around – 42 SC.
27 Row: (5 SC, DEC) REP around – 36 SC.
28-29 Rows: 36 SC (2 rows without any increases or decreases).
30 Row: (4 SC, DEC) REP around – 30 SC.
31-32 Rows: 30 SC (2 rows without any increases or decreases).
33 Row: (3 SC, DEC) REP around – 24 SC.
34-35 Rows: 24 SC (2 rows without any increases or decreases).
Stuff the toy as you go.
36 Row: (2 SC, DEC) REP around – 18 SC.
37-38 Rows: 18 SC (2 rows without any increases or decreases).
39 Row: (1 SC, DEC) REP around – 12 SC.
40-41 Rows: 12 SC (2 rows without any increases or decreases).
42 Row: 6 DEC.
43 Row: 6 SC, fasten off, leaving a tail for closing the opening. Close the opening.
Legs (Make 2):
Start with a chain of 7 stitches. Begin in the second chain from the hook and crochet in a spiral without turning.
1 Row: 5 SC, 3 SC in the last chain, 4 SC, INC in the last chain – 14 SC.
2 Row: INC, 4 SC, 3 INC, 4 SC, 2 INC – 20 SC.
3 Row: SC, INC, 4 SC, (SC, INC) REP 3 times, 4 SC, (SC, INC) REP 2 times – 26 SC.
4 Row: 2 SC, INC, 4 SC, (2 SC, INC) REP 3 times, 4 SC, (2 SC, INC) REP 2 times – 32 SC. (At this stage, you can outline the sole and cut it as desired).
5 Row: 32 SC in the back loop only.
6 Row: 32 SC.
7 Row: 8 SC, 6 DEC, 12 SC – 26 SC.
8 Row: 7 SC, 4 DEC, 11 SC – 22 SC.
9 Row: 8 SC, DEC over 3 stitches, 9 SC, DEC – 19 SC.
10 Row: (3 SC, DEC) REP 4 times, 4 SC – 15 SC.
11 Row: (3 SC, DEC) REP 2 times, 1 SC – 13 SC.
12 Row: (2 SC, DEC) REP 3 times, 1 SC – 10 SC.
13-17 Rows: 10 SC (5 rows without any increases or decreases).
Arms (Make 2):
Fingers (6 pieces each):
1 Row: Start with a magic circle, crochet 8 SC inside the circle.
2-4 Rows: 8 SC.
5 Row: DEC, 6 SC – 7 SC.
6 Row: DEC, 5 SC – 6 SC. Fasten off and cut the yarn.
Middle Finger (Make 2):
1 Row: Start with a magic circle, crochet 8 SC inside the circle.
2-4 Rows: 8 SC.
5 Row: DEC, 6 SC – 7 SC.
6 Row: 7 SC.
7 Row: DEC, 5 SC – 6 SC. Do not cut the yarn, continue crocheting the hand.
Left Hand:
1 Row: 3 SC on the middle finger, 6 SC on the outer finger, 3 SC on the middle finger, 6 SC on the outer finger.
2-5 Rows: 18 SC (4 rows without any increases or decreases).
6 Row: 8 SC, attach the thumb with 3 SC, 7 SC on the hand.
7 Row: (4 SC, DEC) – attach the remaining 3 stitches of the thumb. Attach the thumb in two rows, i.e., in the first row, make 3 SC, and in the second row, the remaining 3 SC.
8 Row: (3 SC, DEC) – 12 SC. Stuff the fingers and the hand.
9 Row: (1 SC, DEC) – 8 SC.
10-20 Rows: 8 SC (11 rows without any increases or decreases).
Right Hand:
Follow the instructions for the left hand until the 5th row. Then, continue with the instructions for the left hand without any changes.
Nose (White color):
1 Row: Start with a magic circle, crochet 6 SC inside the circle.
2 Row: INC in each stitch around – 12 SC.
3 Row: (1 SC, INC) REP around – 18 SC.
4-11 Rows: 18 SC (8 rows without any increases or decreases).
12 Row: (1 SC, DEC) REP around – 12 SC. Stuff the nose lightly.
13 Row: 6 DEC – finish crocheting and tighten the opening.
Eyes:
Start with a chain of 12 stitches. Begin in the second chain from the hook and crochet in turning rows. Start each row with a chain.
1 Row: 11 SC, turn.
2 Row: Chain, 11 SC, turn.
3 Row: Chain, 11 SC, turn. Divide the eyes in half with 5 SC; do not crochet the 1 SC in the center.
4 Row: Chain, 5 SC, turn.
5 Row: Chain, DEC, 1 SC, DEC, turn.
6 Row: Chain, decrease over 3 stitches. Fasten off and cut the yarn. Similarly, crochet the second eye, but do not cut the yarn. Continue crocheting by making a border around both eyes.
Glue the plastic eyes (pupils) onto the eyes.

Assembly:
Assemble and try on all the parts and sew the toy together.
Add eyebrows and a smile.
Antoshka is ready!