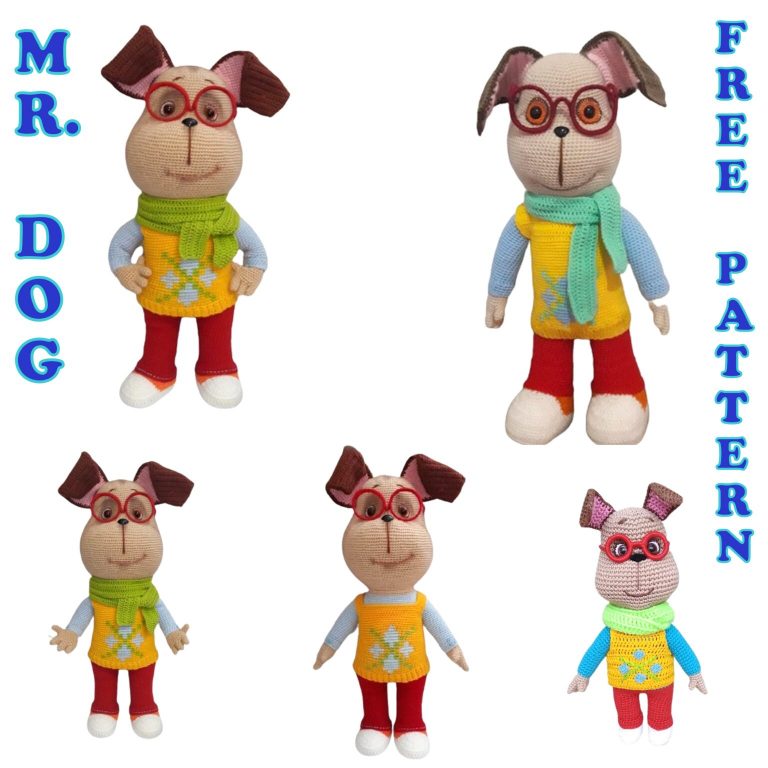
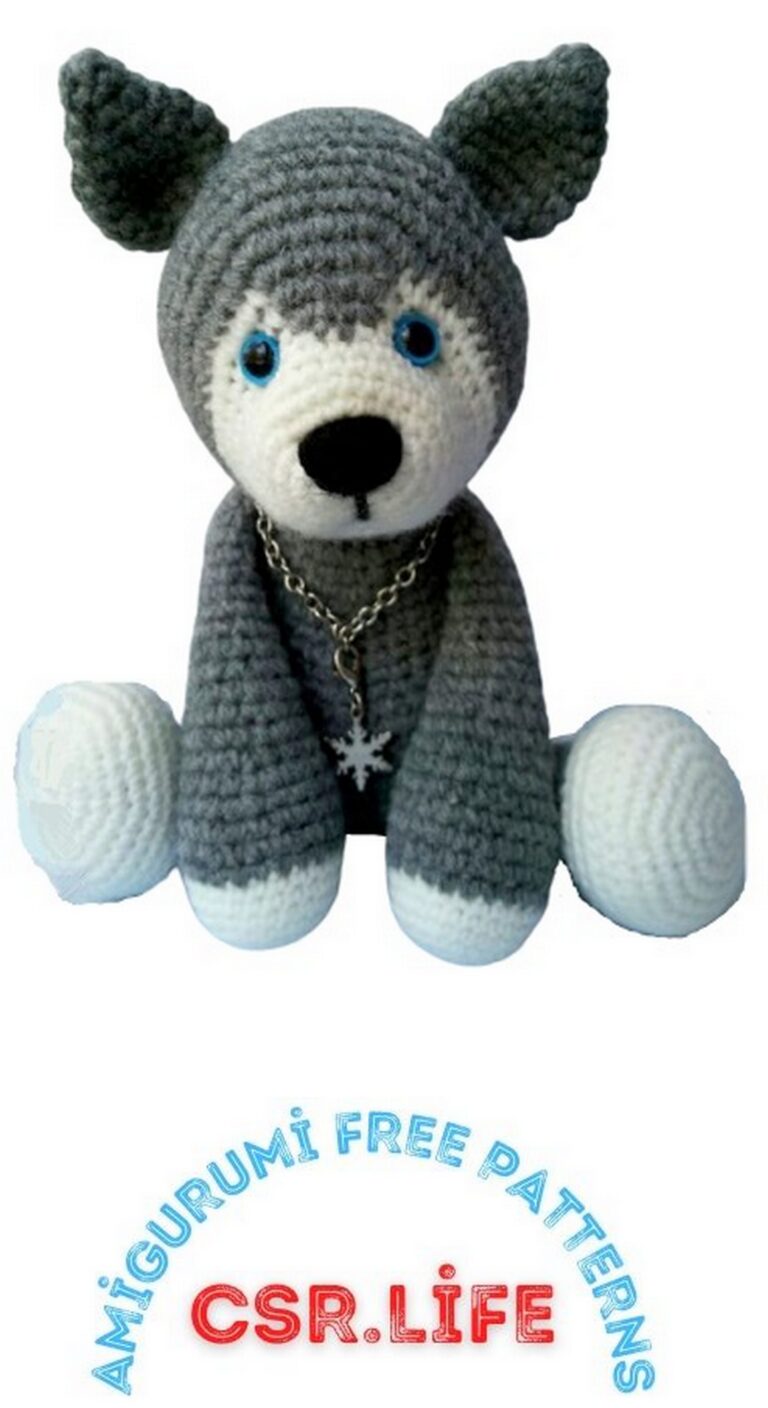
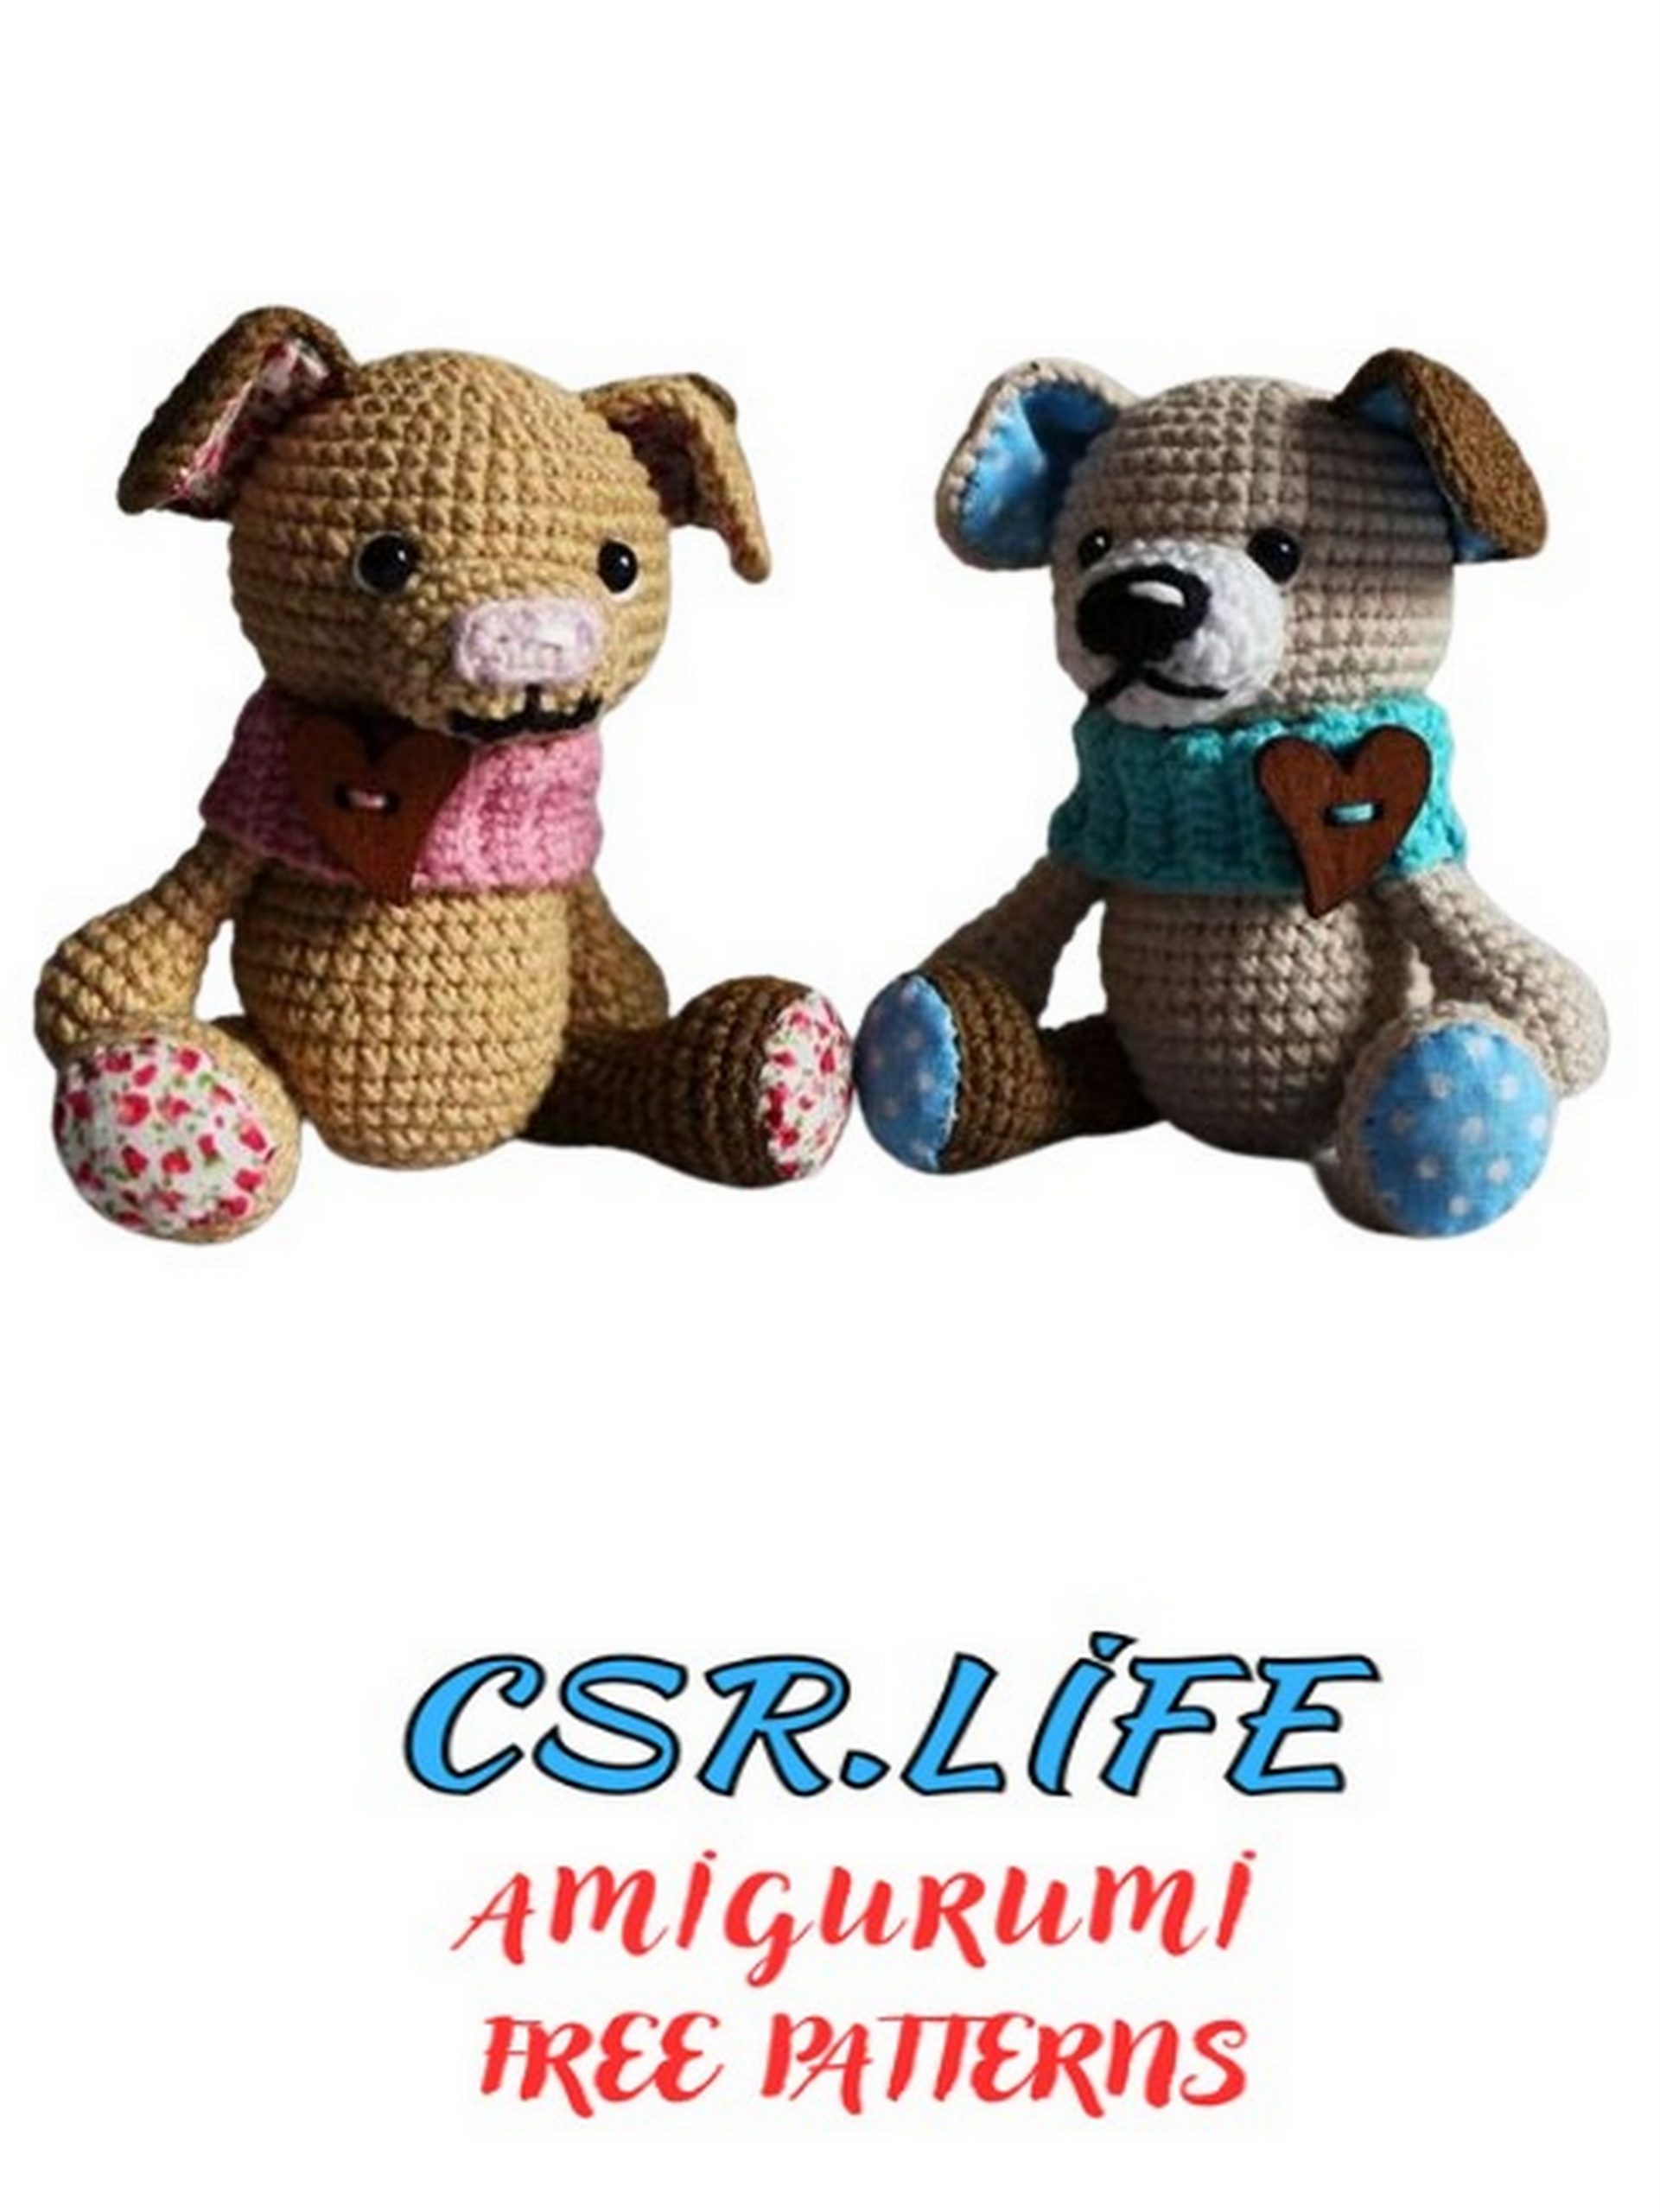
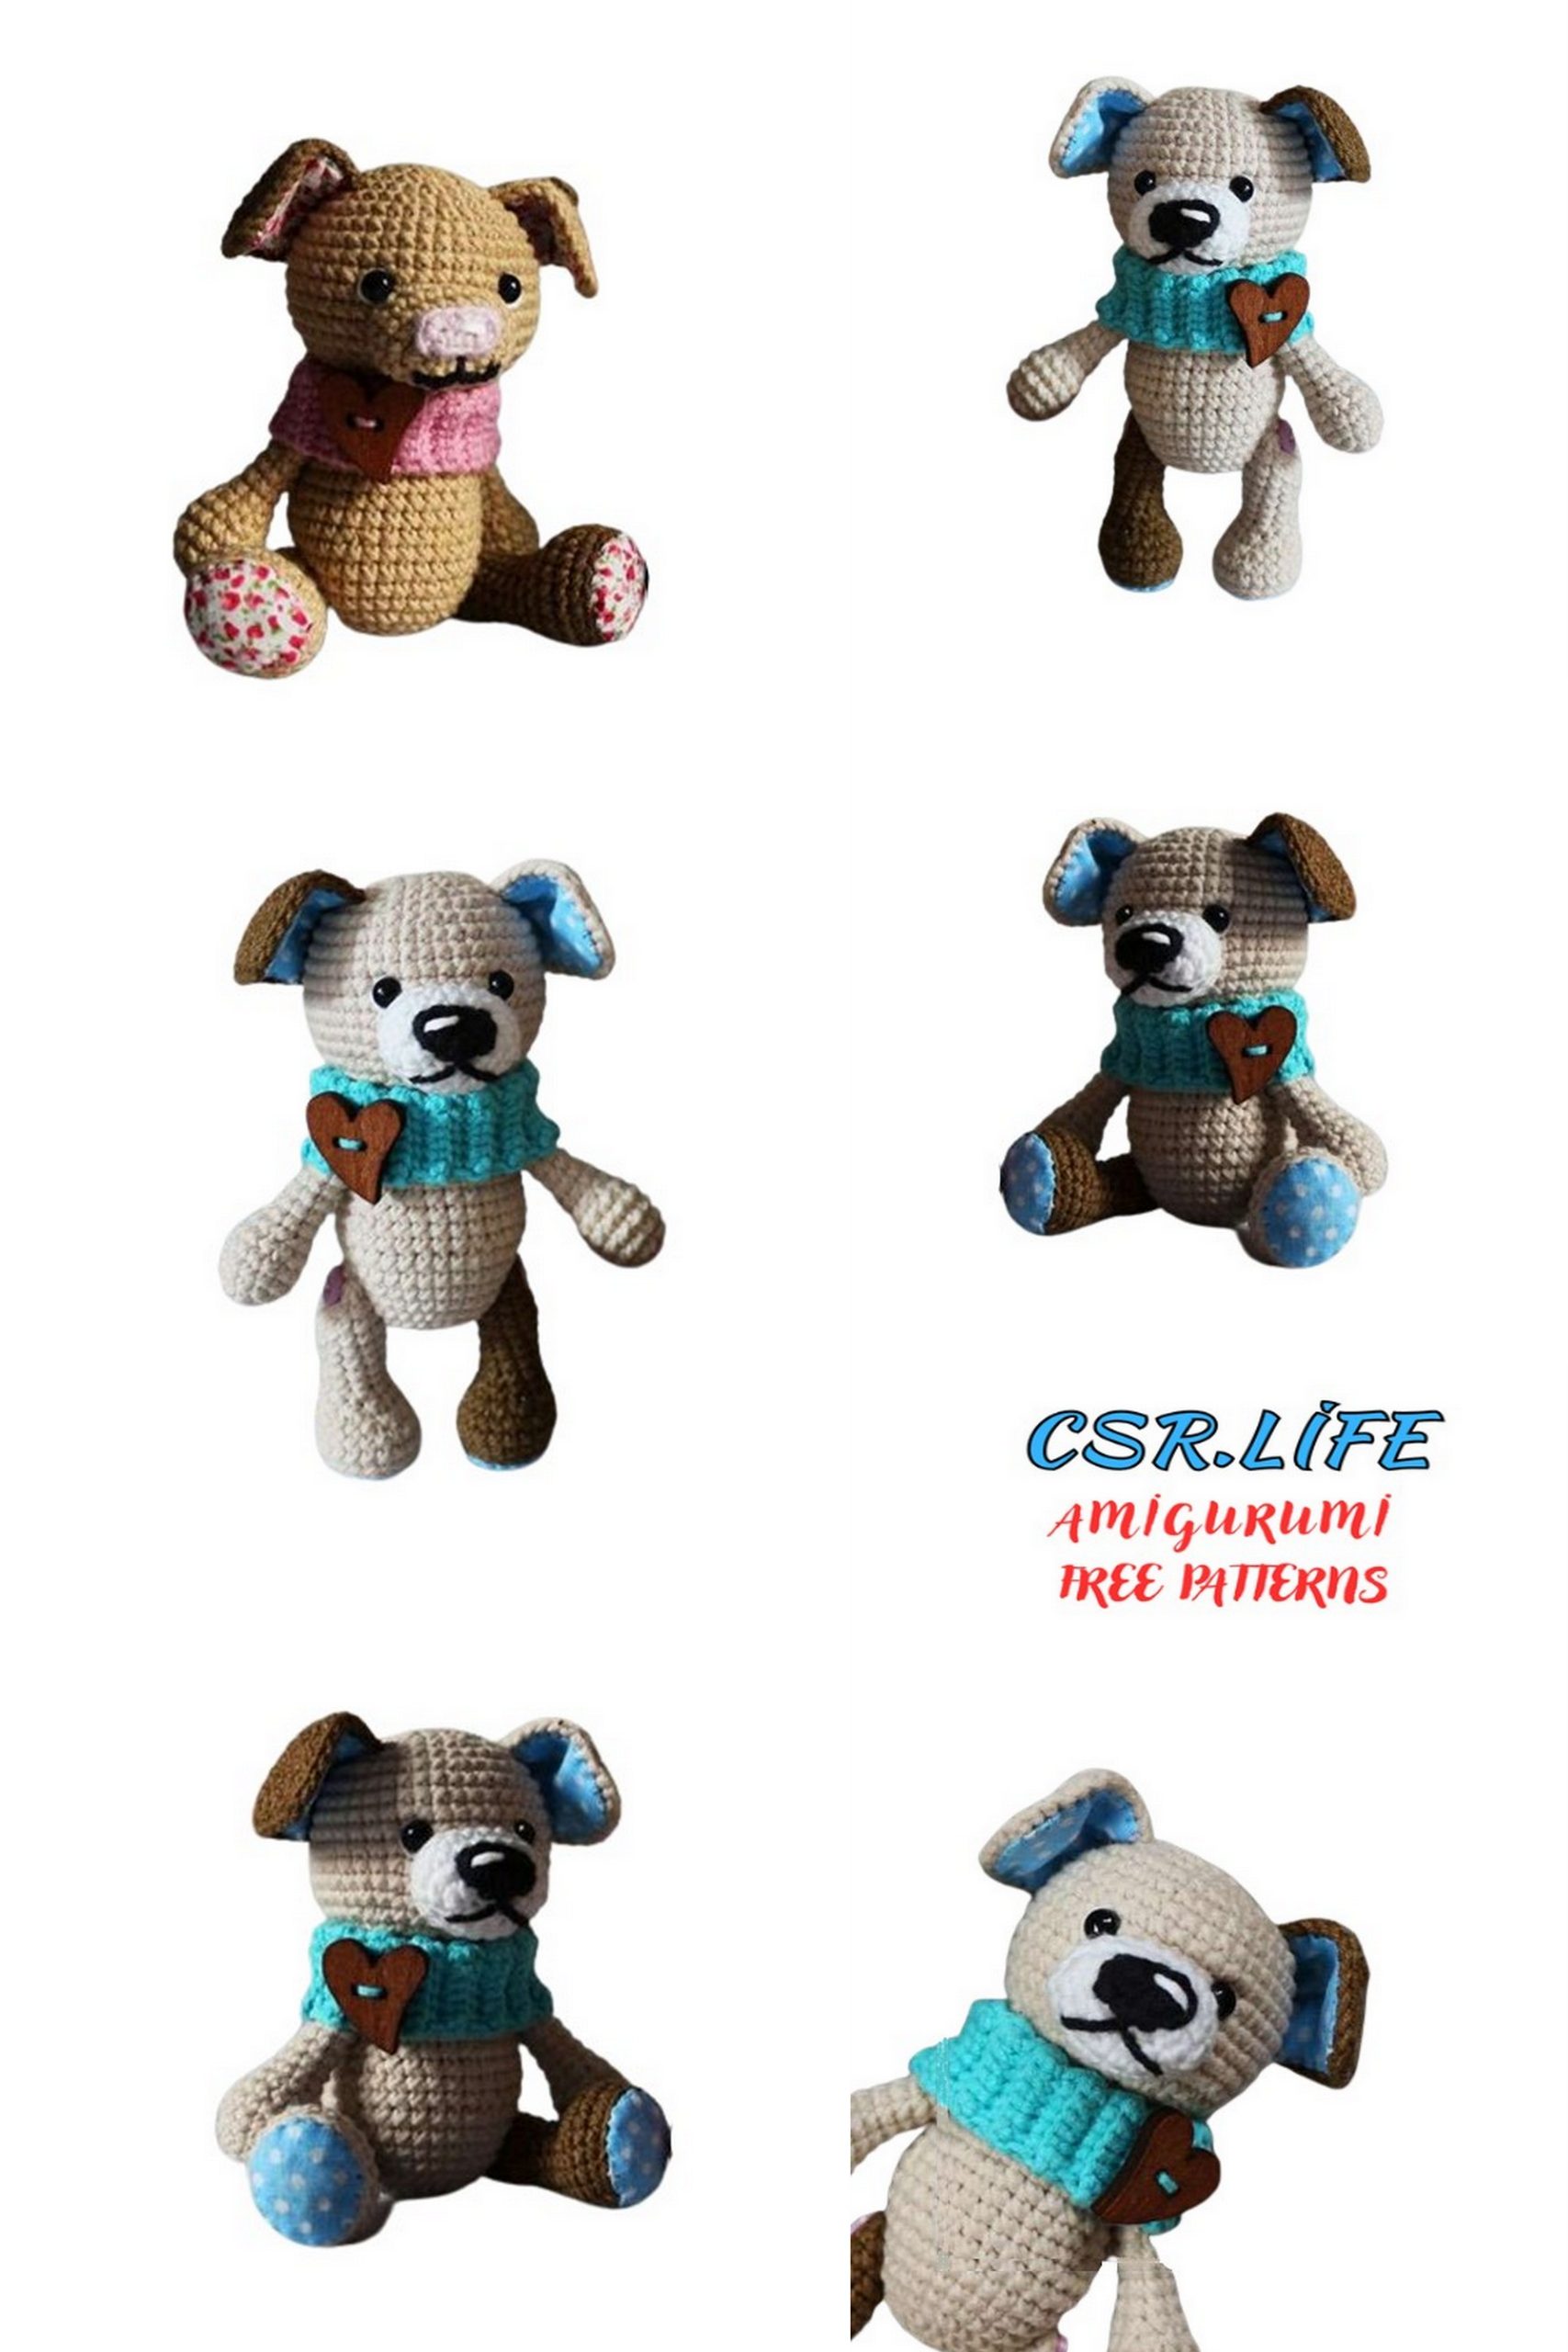
Little Cute Dog Amigurumi Free Pattern: Craft Your Own Adorable Canine Companion!
Welcome to our delightful corner of crochet wonders! If you’re passionate about amigurumi and love creating charming characters, you’re in for a treat. Today, we’re excited to share a wonderful amigurumi free pattern for crafting your very own little cute dog amigurumi. Whether you’re an experienced crocheter or just starting out, this project is perfect for all skill levels. So, pick up your crochet hook and let’s embark on a journey to crochet a tiny companion that will bring joy to your heart!
Materials:
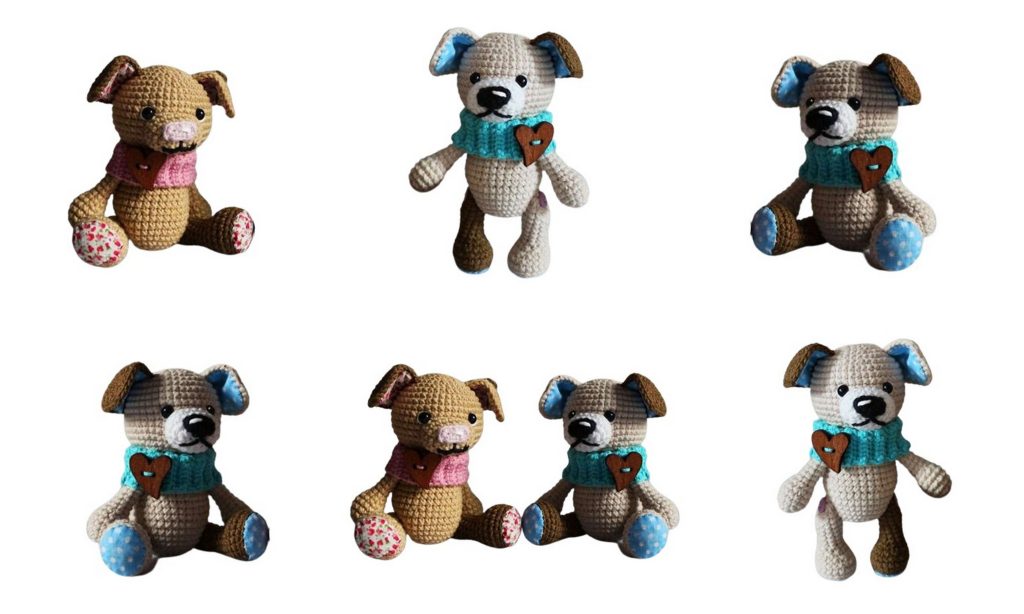
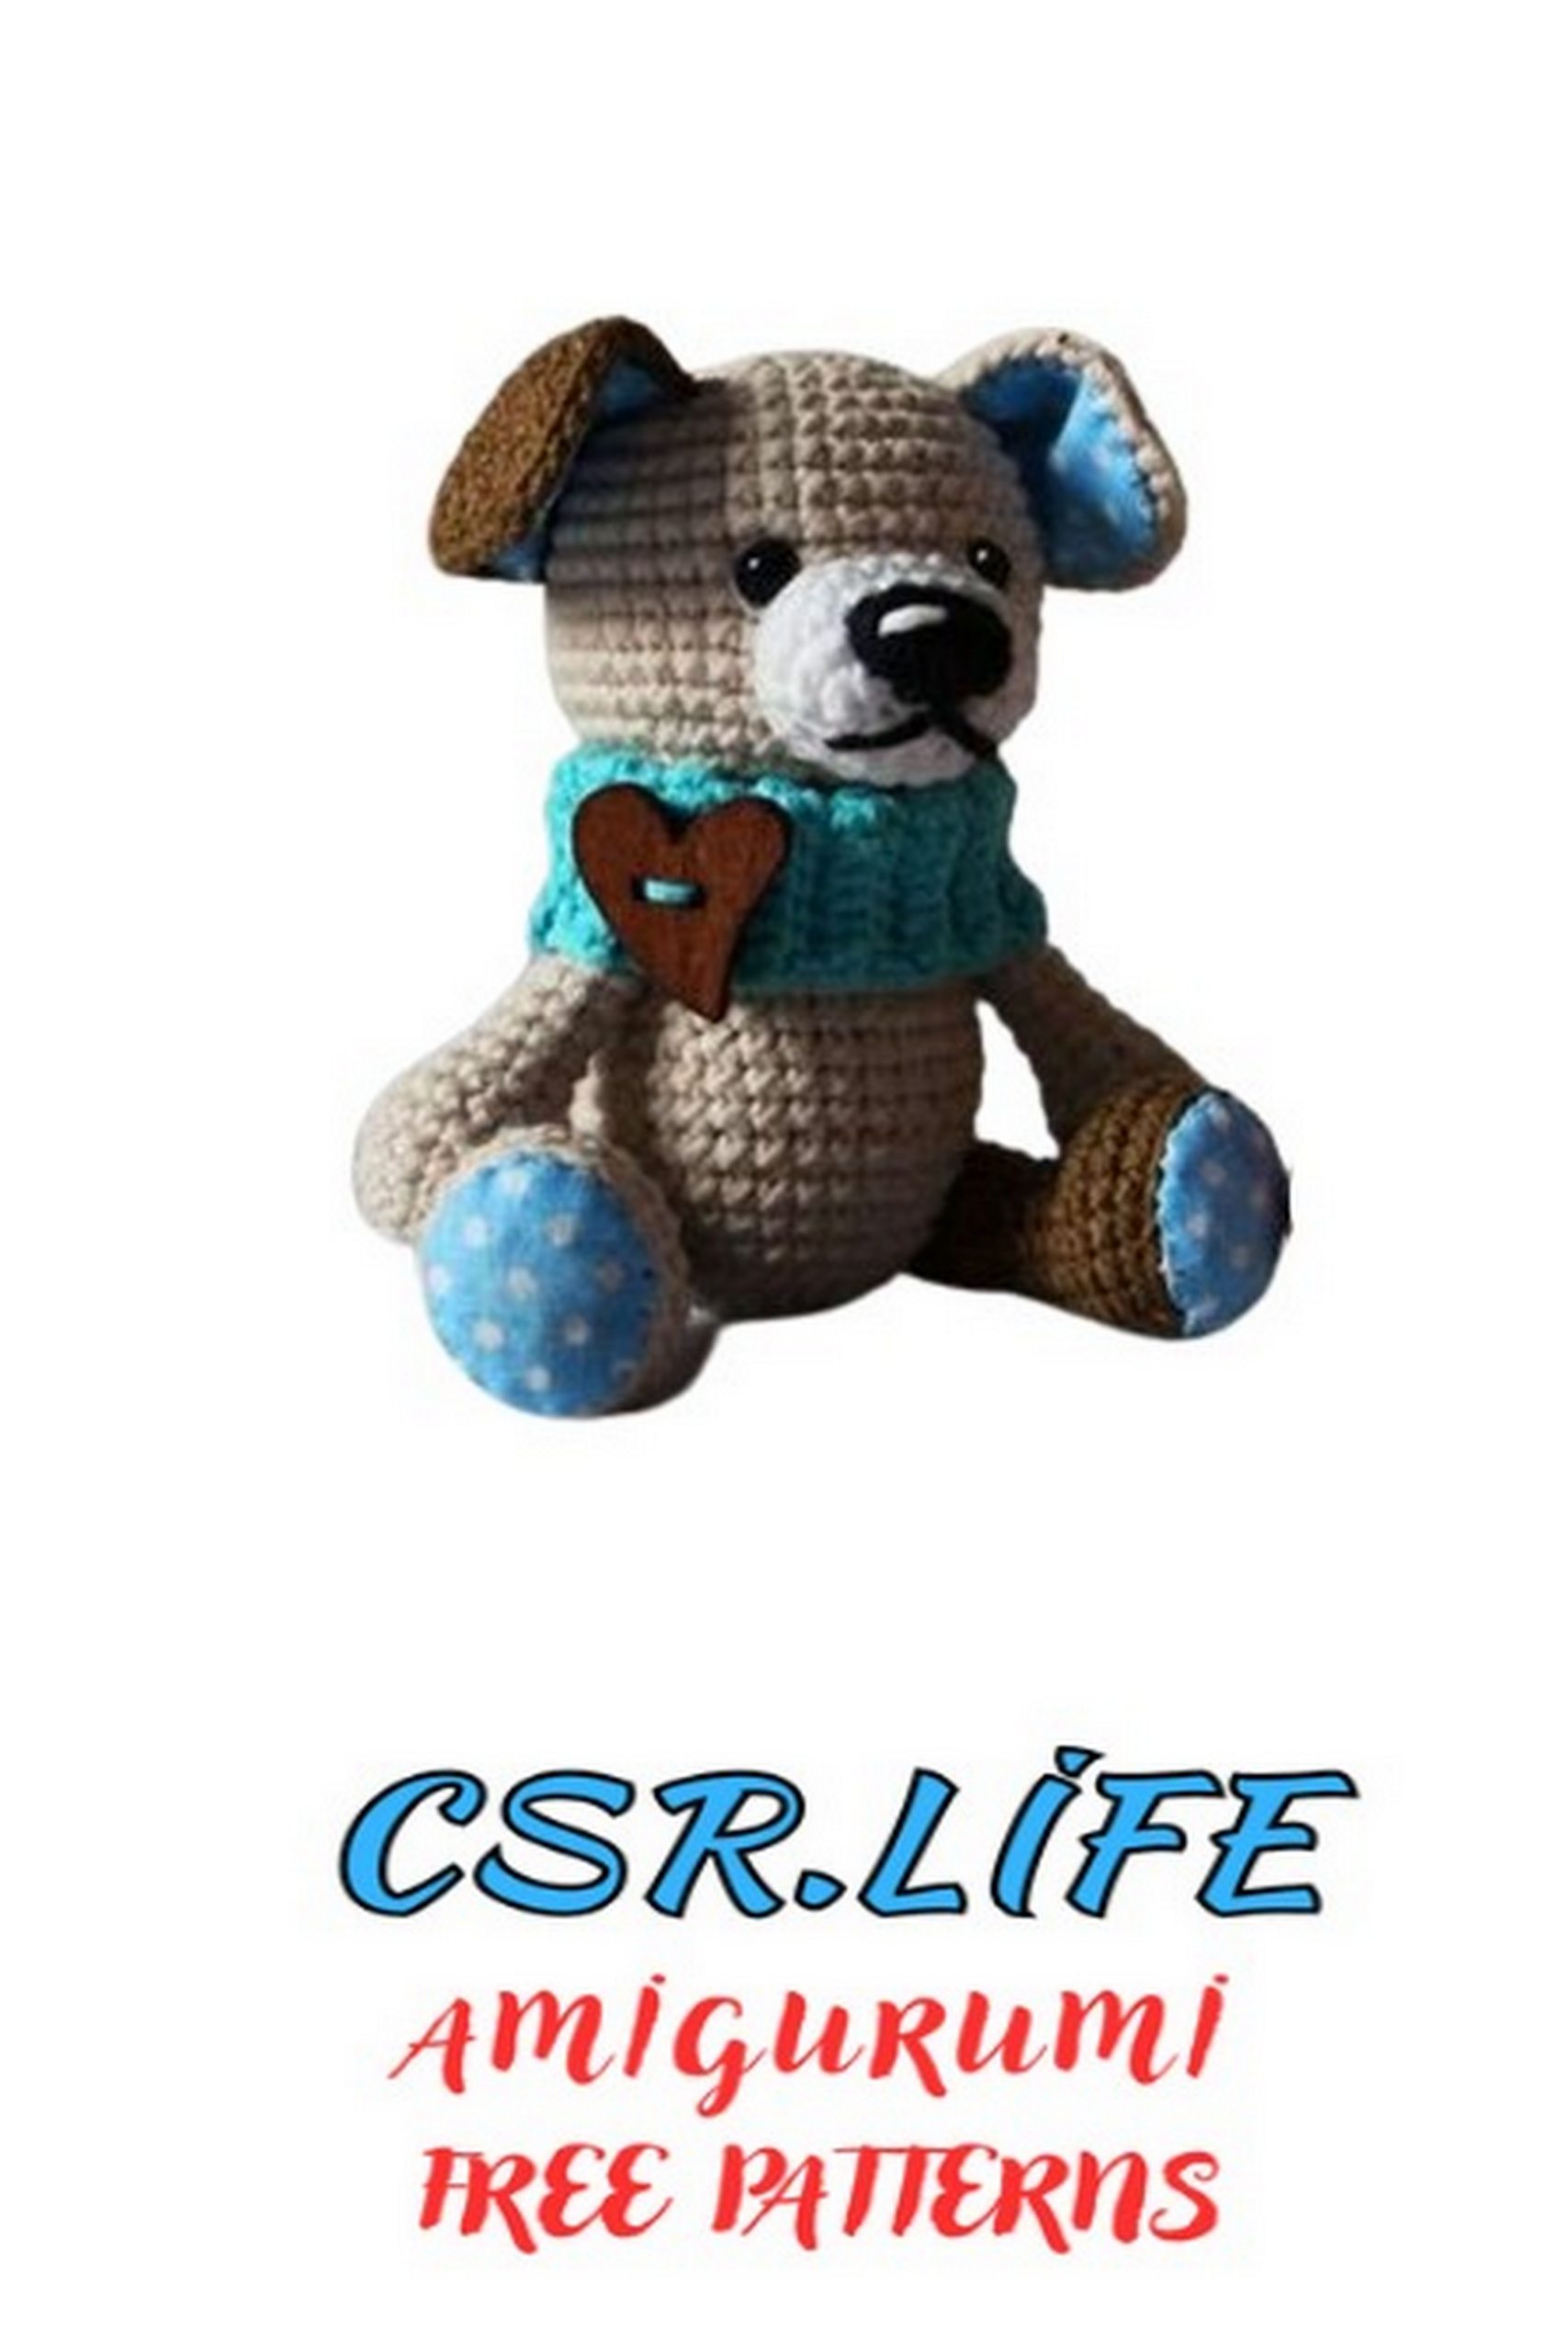
Yarn color A – main color, I have beige
Yarn color B – additional (ears, tail, spots), I have brown
Yarn for snood
A bit of yarn for the nose
Suitable eyes or beads
Stuffing
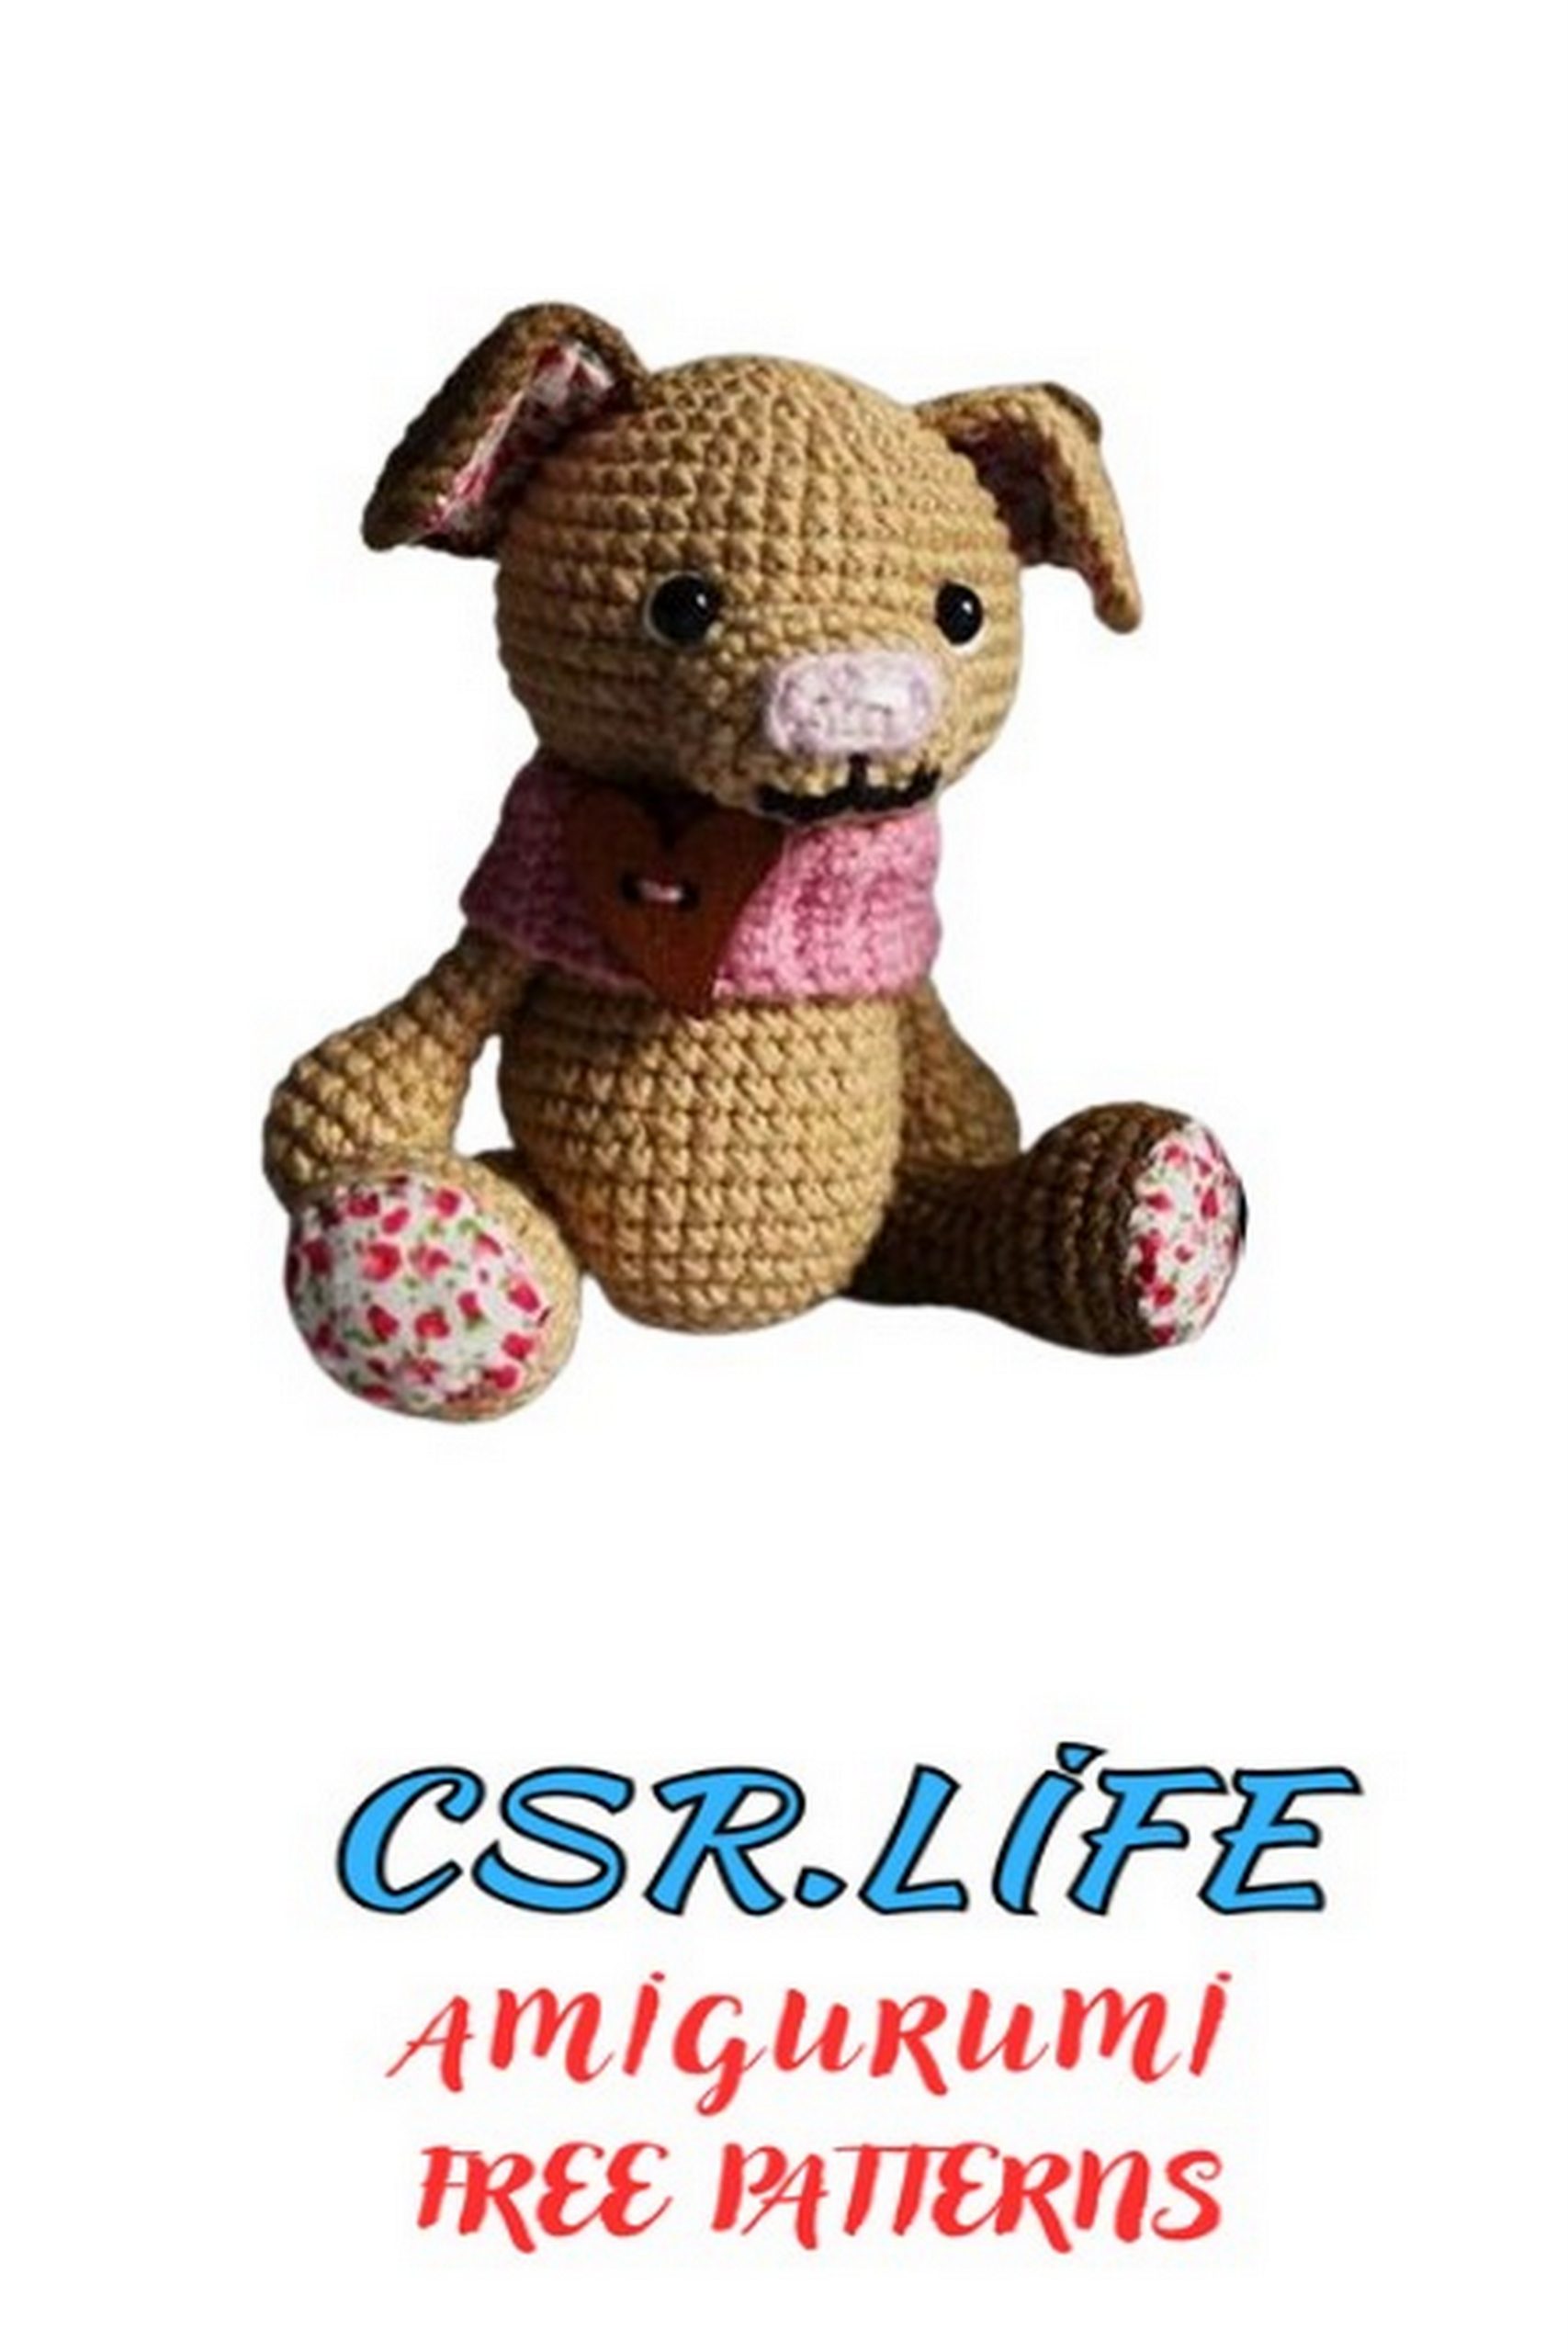
Small pieces of fabric with a small print for ears and patches
Beads, buttons, ribbons for decoration
And of course, a hook according to size, scissors, a needle for sewing the toy, and a thin needle for sewing fabric pieces.
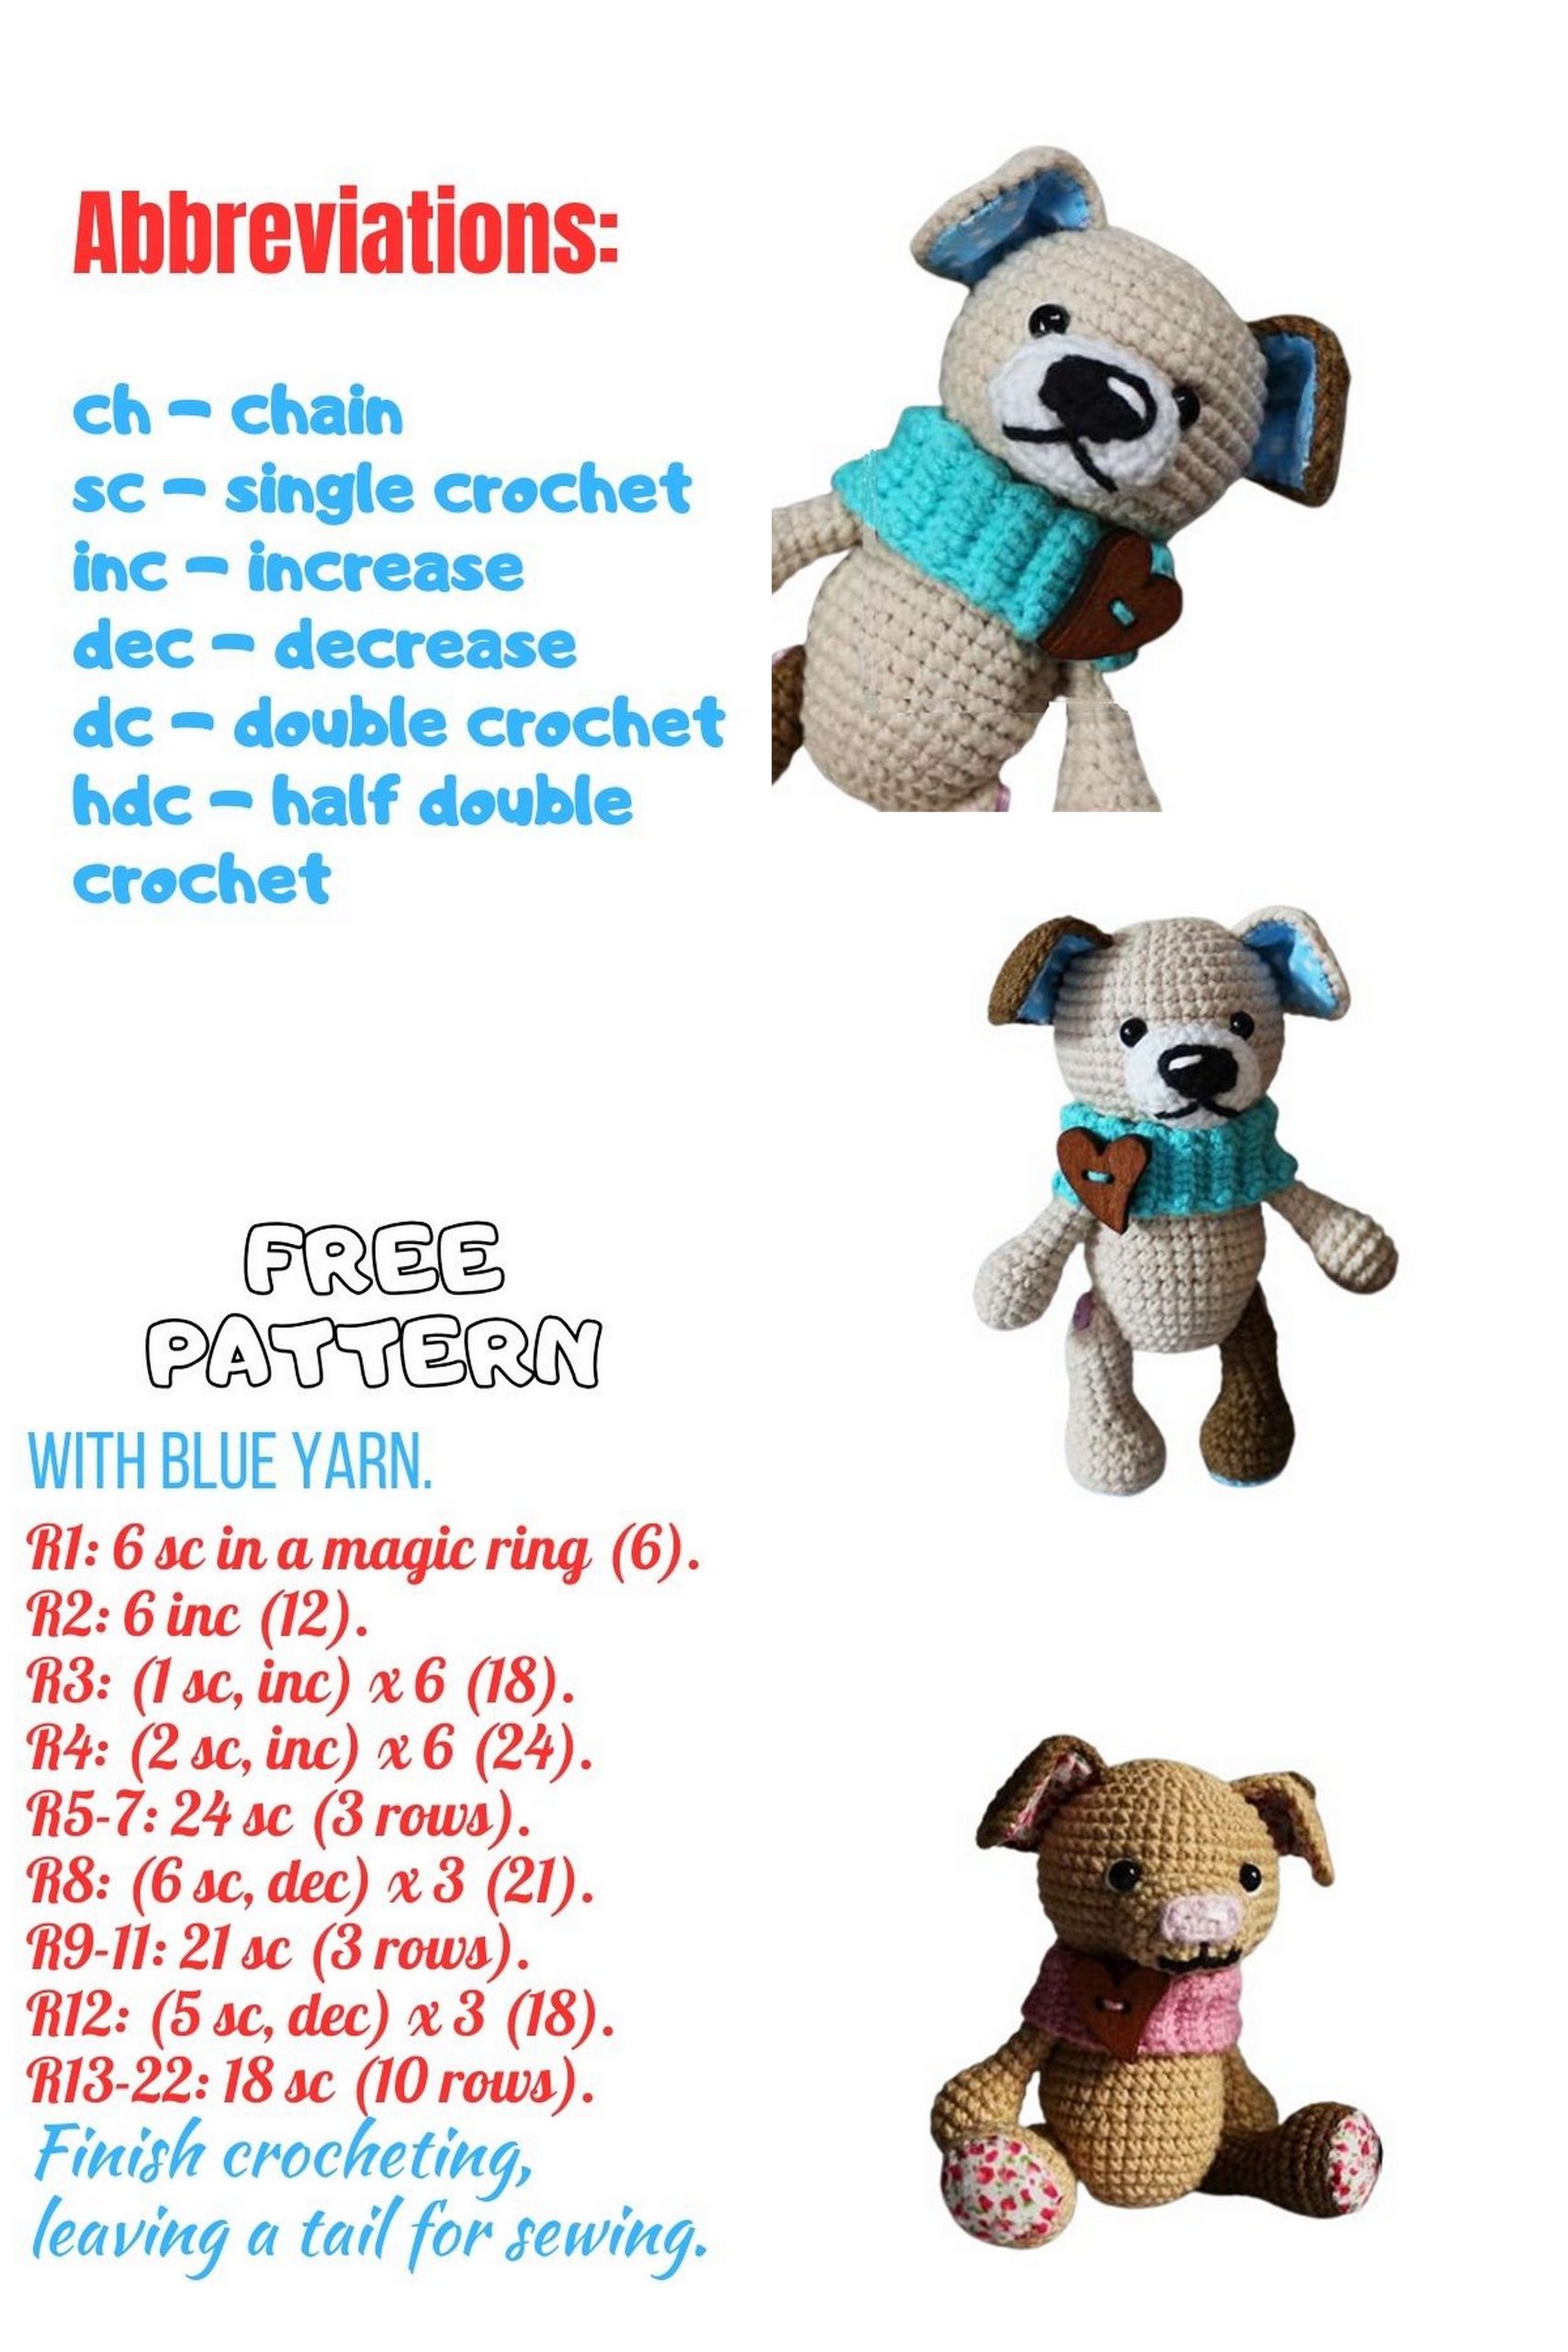
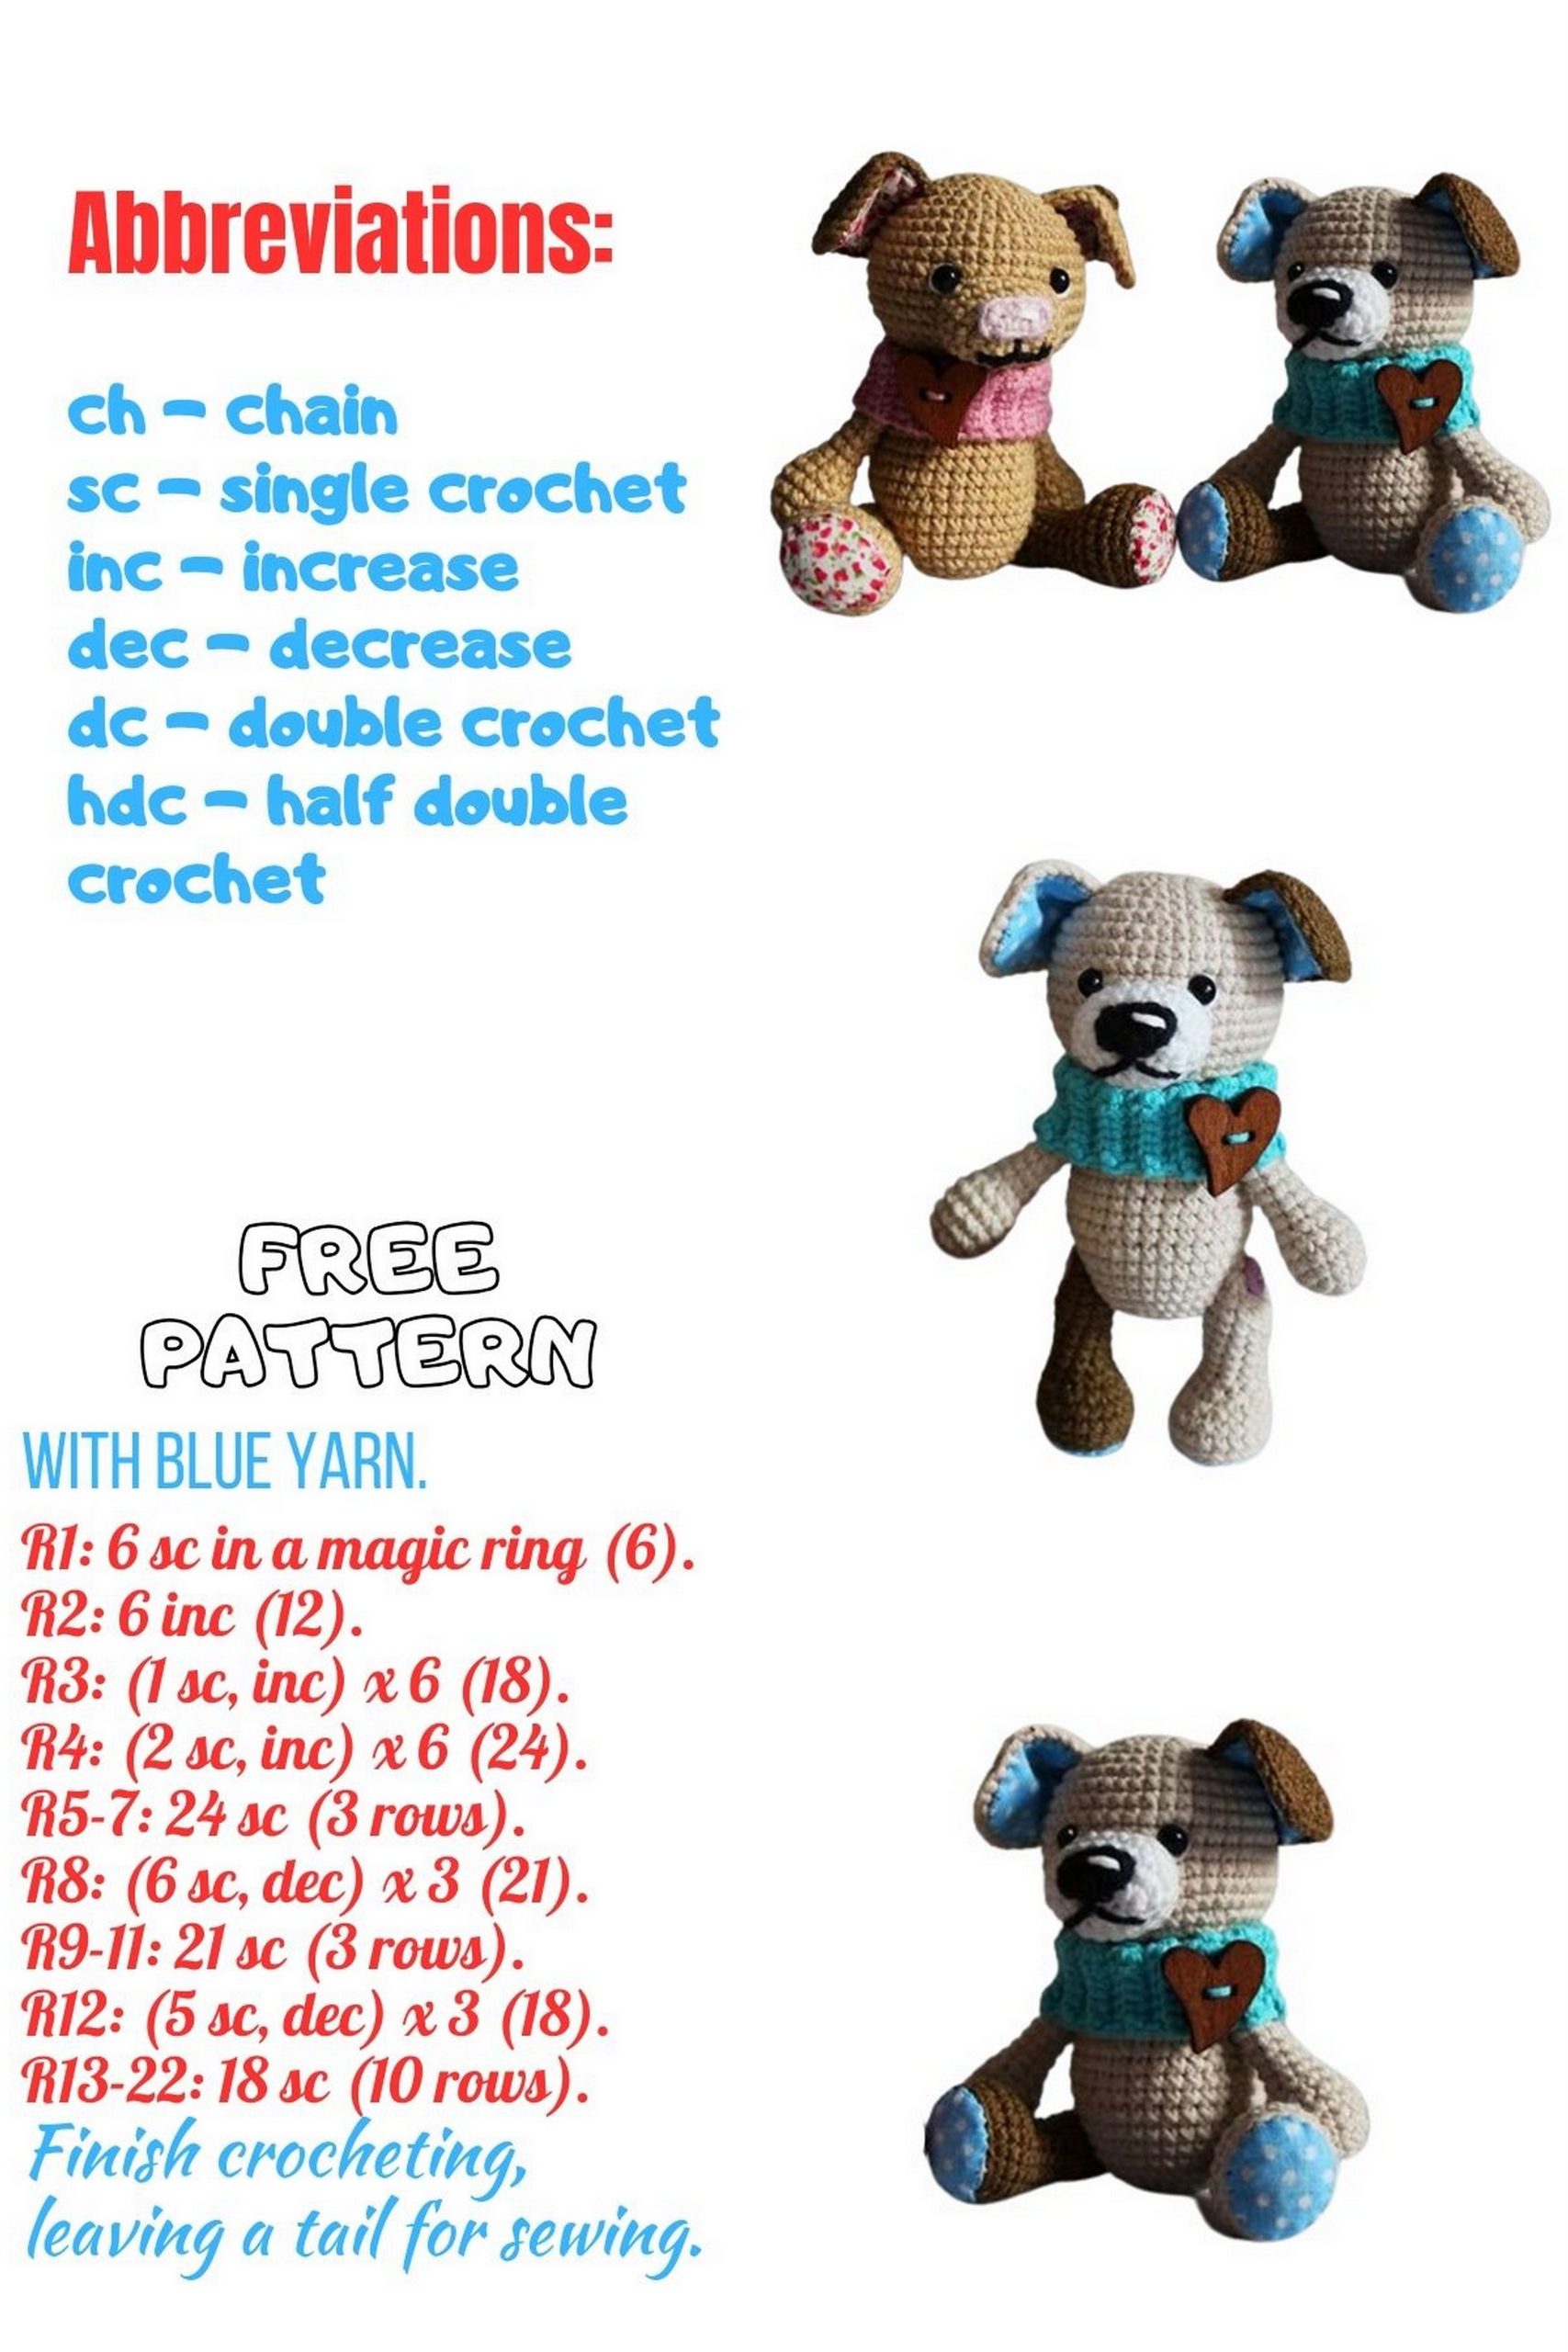
Abbreviations:
ch – chain stitch
sc – single crochet
hdc – half double crochet
inc – increase
dec – decrease
Also, there will be crocheting in turned rows and crocheting in the back loops.
PATTERN
Face:
1: 7 ch, in the second ch from the hook, sc 5, 3 sc in one loop, and on the opposite side of the chain, sc 4, 1 inc in the first loop of the row (14)
2: inc, 4 sc, 3 inc, 4 sc, 2 inc (20)
3-4: 20 sc
Muzzle:
6 ch, in the second ch from the hook, sc 4, 3 sc in one loop, and on the opposite side of the chain, sc 3, 1 inc in the first loop of the row (12)
Fasten off the thread and leave a tail for sewing.
Head:
1: 6 sc in the amigurumi ring
2: 6 inc (12)
3: (1 sc, inc)*6 (18)
4: (2 sc, inc)*6 (24)
5: (3 sc, inc)*6 (30)
6: (4 sc, inc)*6 (36)
7-15: 36 sc
16: (5 sc, dec)*6 (30)
17: (4 sc, dec)*6 (24)
Stuff the head firmly. Fasten off the thread and leave a tail for sewing.
Paw:
1: 6 sc in the amigurumi ring
2: 6 inc (12)
3: (3 sc, inc)*3 (15)
4-5: 15 sc
6: (3 sc, dec)*3 (12)
7: (2 sc, dec)*3 (9)
8-14: 9 sc
Fold the edges of the piece and crochet them together with 4 sc. Fasten off the thread, leaving a tail for sewing.
Leg:
1: 4 ch, in the second ch from the hook, sc 2, 3 sc in one loop, and on the opposite side of the chain, sc 1, 1 inc in the first loop of the row (8)
2: 1 inc, 1 sc, 3 inc from hdc, 1 sc, 2 inc (14)
3: 3 sc, 2 inc, 2 inc from hdc, 2 inc, 5 sc (20)
4: 20 sc in the back loops (20)
5-6: 20 sc
7: 6 sc, 3 dec, 6 sc, 1 dec (16)
8: 4 sc, 4 dec, 4 sc (12)
9: (4 sc, dec)*2 (10)
10-11: 10 sc
12: (4 sc, inc)*2 (12)
13-16: 12 sc
Finish stuffing the leg.
17: 6 dec
Fasten off the thread, pull the loops tight, and hide the end inside.
Ears:
Work in turned rows for both loops.
1: 3 ch, 2 sc in the first loop. Ch 1 as a turning chain and turn. (2)
2: 2 inc, ch 1 as a turning chain, and turn. (4)
3: sc, 2 sc, sc, ch 1 as a turning chain, and turn. (6)
4: sc, 4 sc, sc, ch 1 as a turning chain, and turn. (8)
5-9: 8 sc, ch 1 as a turning chain, and turn. (8)
10: 8 sc, ch 1. (8)
You’ll get a flat triangle. Now, crochet around it in a circle, starting from the same loop you made the last sc in row 10. You’ll make 9 sc along the edge, 3 sc in the corner, and another 9 sc along the other side of the ear.
After crocheting, the piece will slightly curve, giving it a natural “droopy” look. Fasten off the thread, leaving a tail for sewing.
Tail:
1: 6 sc in the amigurumi ring
2: 2 sc, 2 inc, 2 sc (8)
3: 2 sc, 4 hdc, 2 sc (8)
4-7: Repeat row 3
8: dec, 4 sc, dec (6)
The piece should slightly spiral like a real dog’s tail. Fasten off the thread, leaving a tail for sewing. No need to stuff the tail.
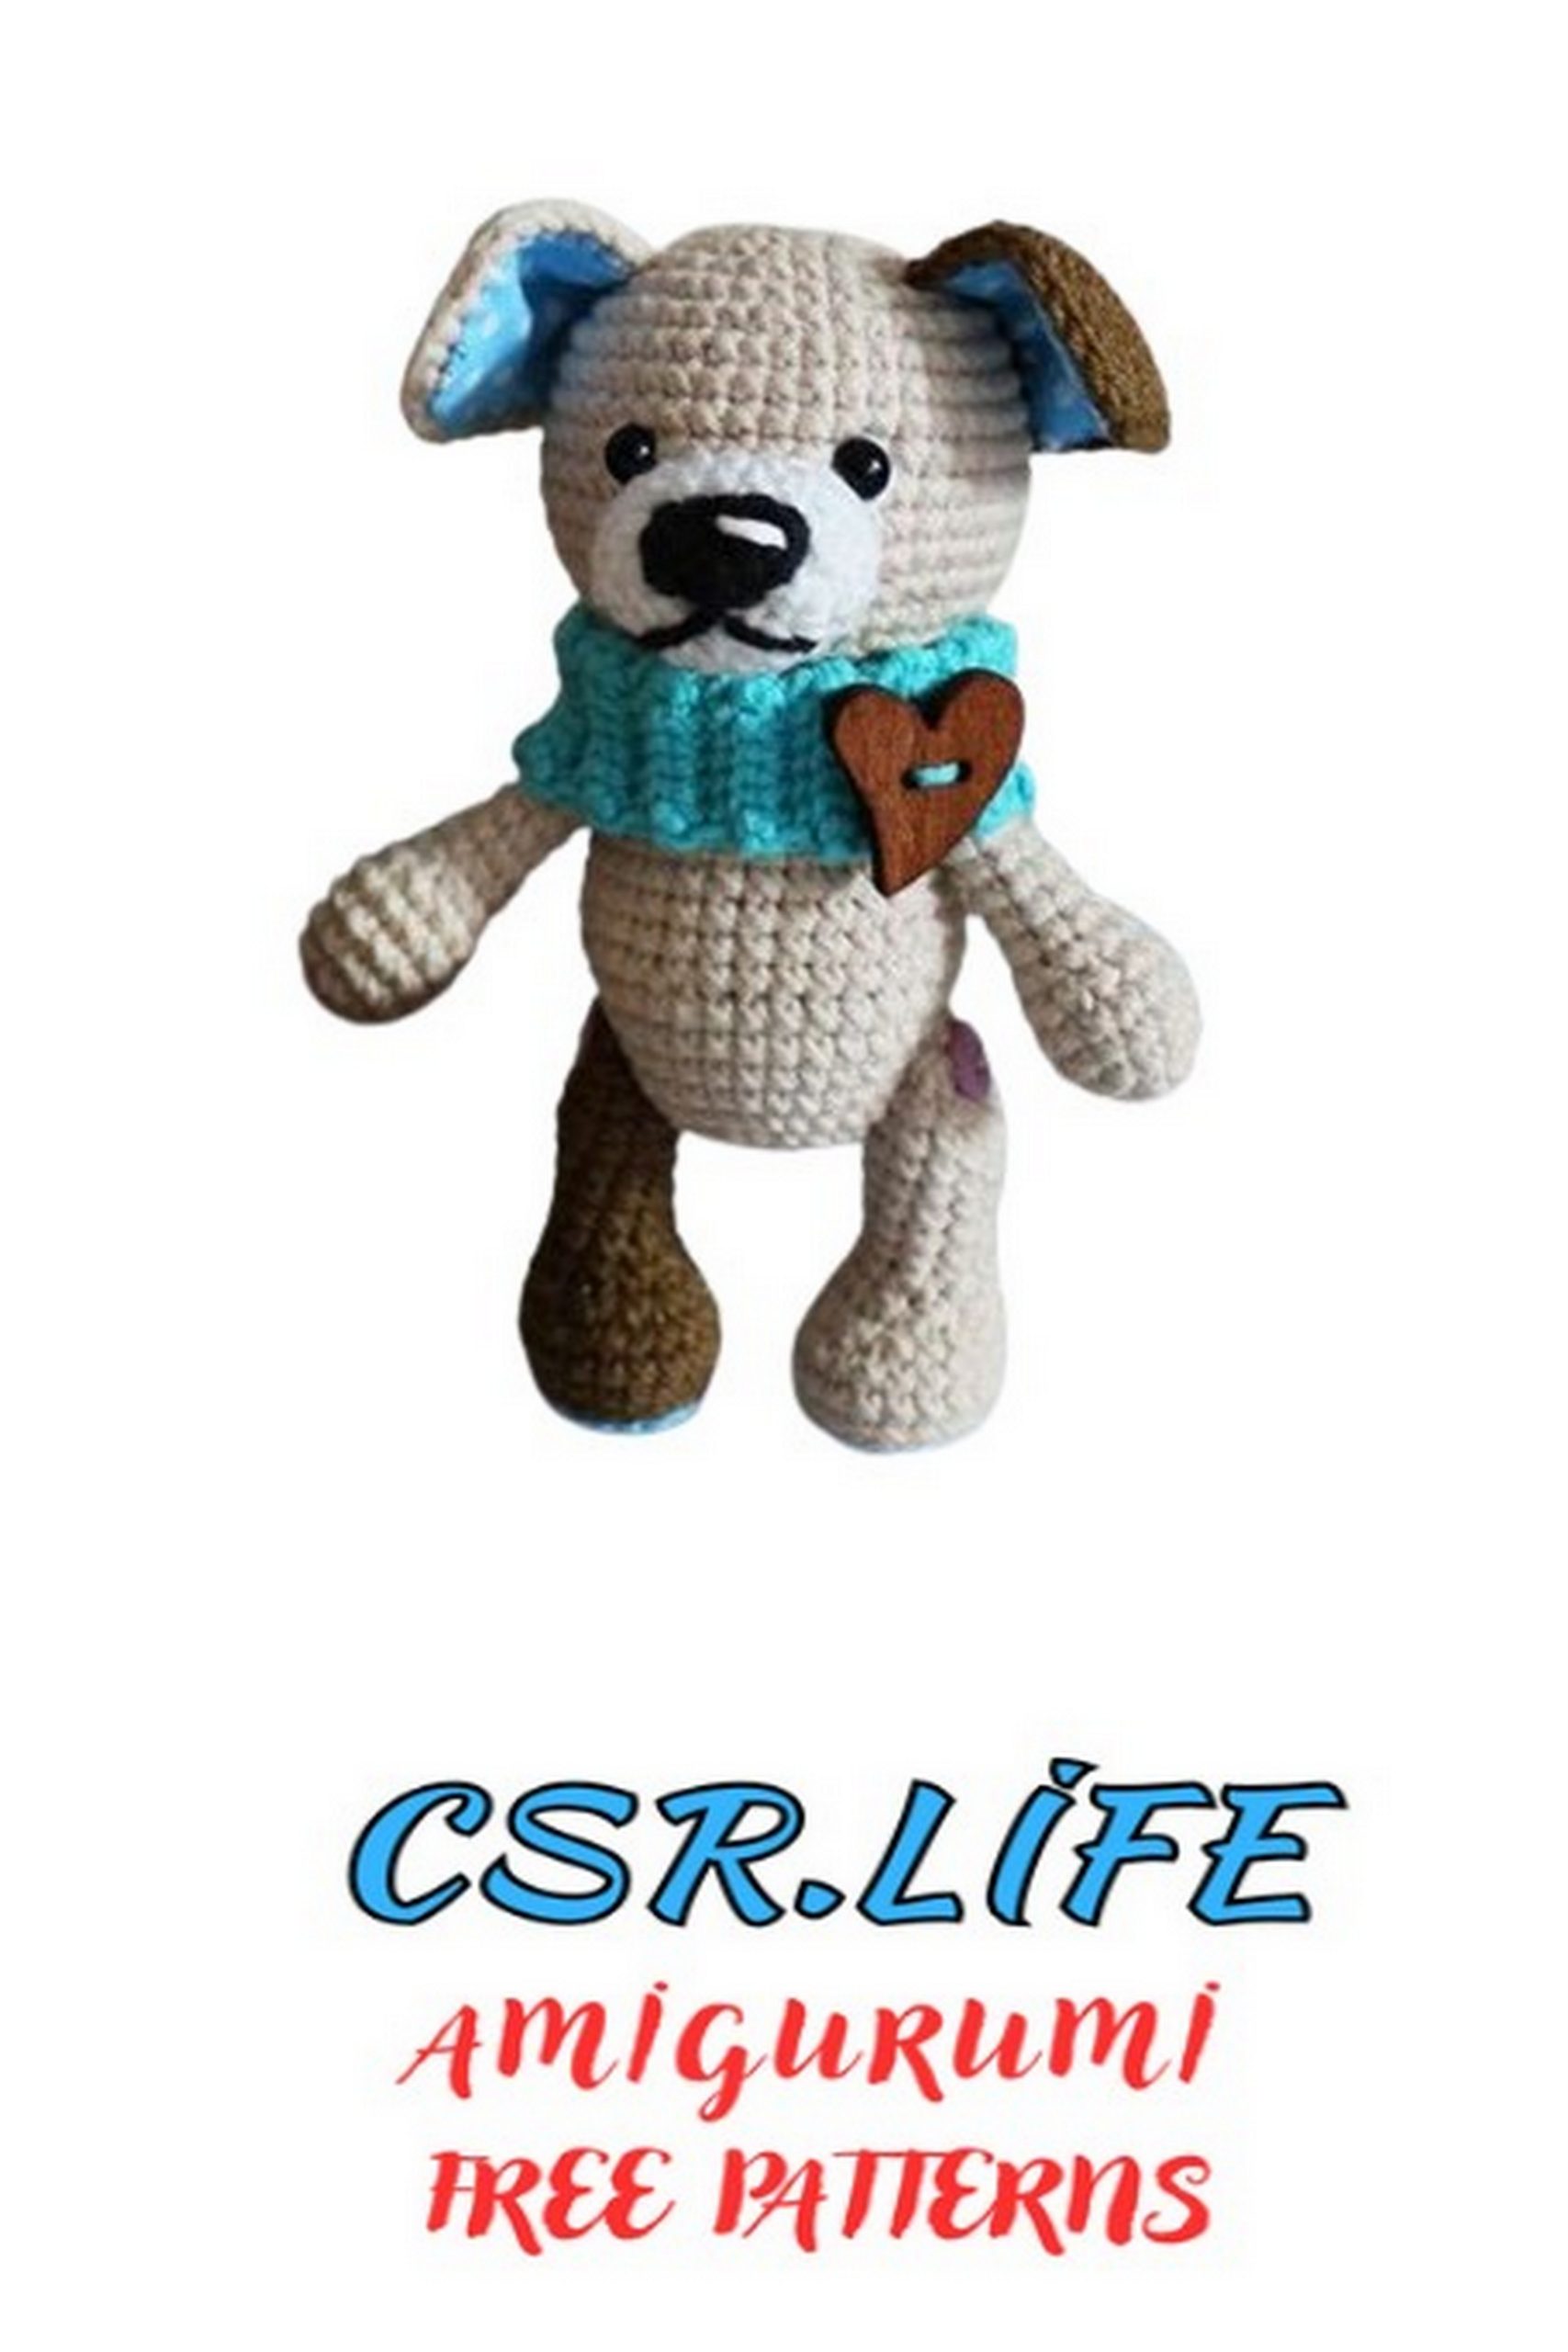
Snood:
Work in turned rows for the back wall:
1: 11 ch, in the second from the hook, 10 sc.
2-32: 10 sc
Fasten off the thread, leaving a small tail.
Body:
1: 6 sc in the amigurumi ring
2: 6 inc (12)
3: (1 sc, inc)*6 (18)
4: (2 sc, inc)*6 (24)
5: (3 sc, inc)*6 (30)
6: (4 sc, inc)*6 (36)
7-10: 36 sc
11: (10 sc, dec)*3 (33)
12-13: 33 sc
14-16: 30 sc
17: (3 sc, dec)*6 (24)
18: (2 sc, dec)*6 (18)
19: (1 sc, dec)*6 (12)
Stuff the body tightly, fasten off the thread, and leave a tail for sewing.
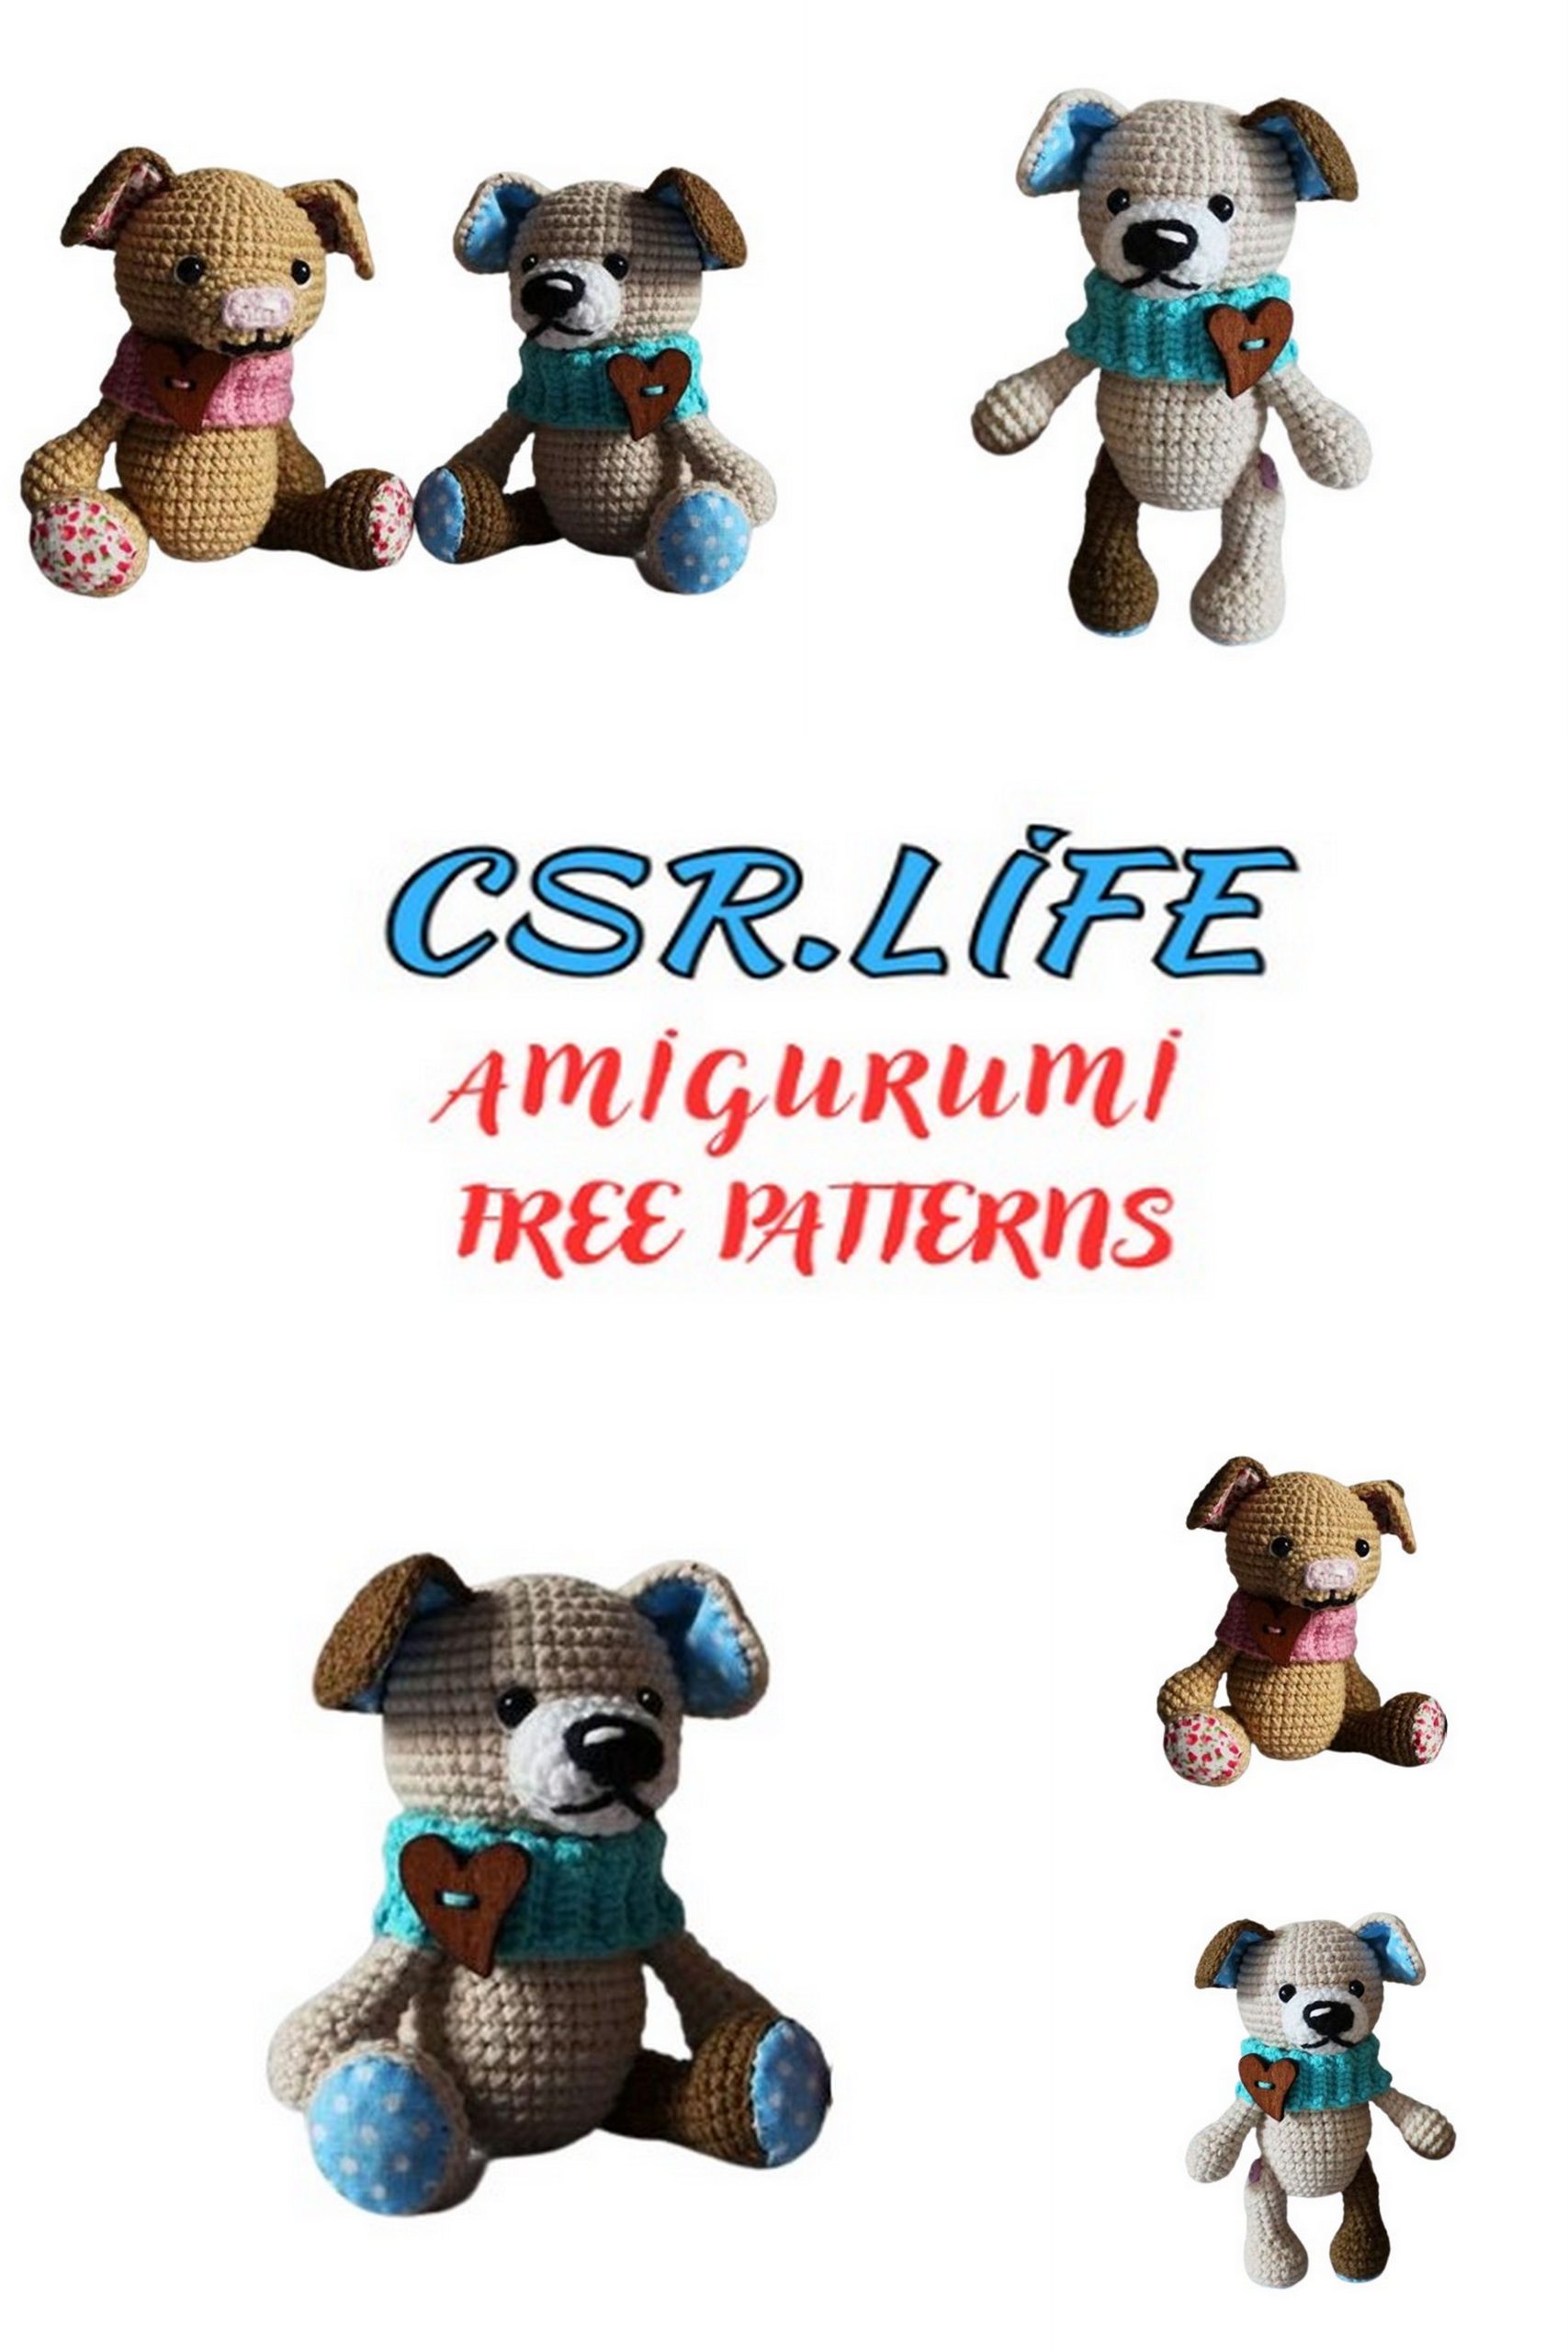
To make fabric patches and ears, trace the desired piece on fabric with a small pattern and cut with a small allowance. Sew the fabric to the crocheted piece, gradually folding the allowance inside.
Start assembly by sewing the head to the body, then symmetrically sew the ears to the head between rows 5 and 12, bending them in the middle. Sew on the paws, leaving a 2-row gap from the junction of the head and body, then put on the snood from above and sew its edges with the remaining tail of the thread. Fold the top edge of the snood to make it snug near the muzzle; optionally sew buttons or beads onto the snood. Attach the legs with a yarn attachment between rows 7 and 8 of the body, then sew the tail between the legs at the level of row 9.
Optionally, you can add spots to the body by gluing felt or sewing knitted spots. Embroider, if desired.